Little house in the garden

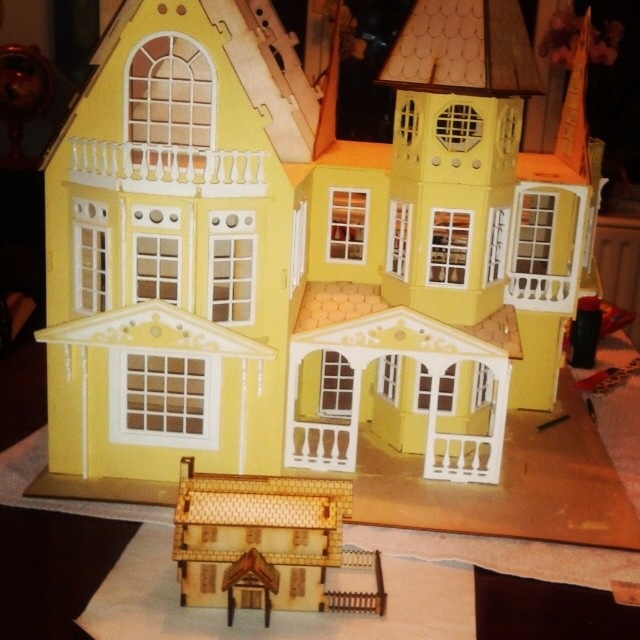
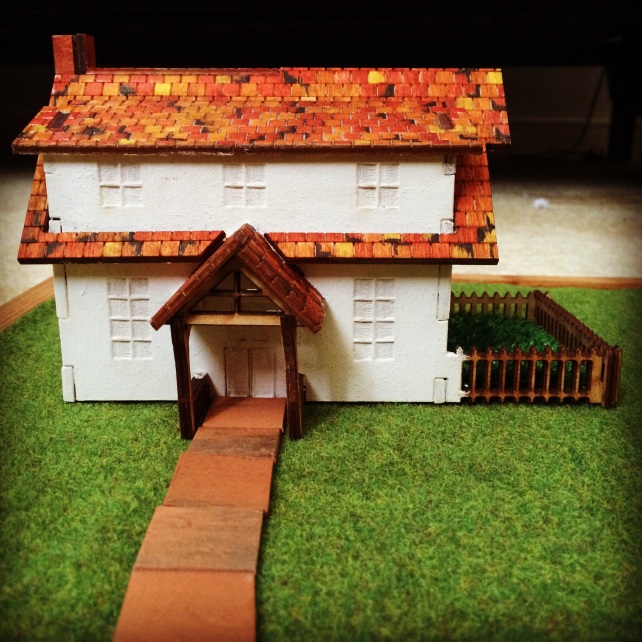
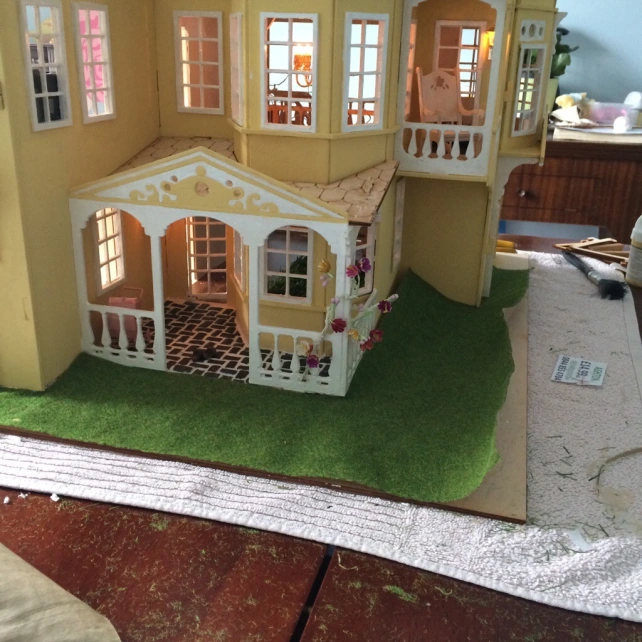
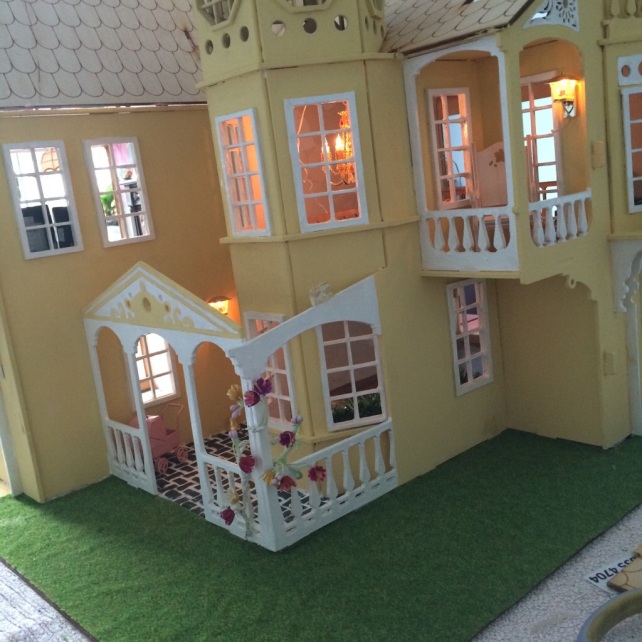
Some of you may remember that I was sent a miniature house with the missing roof for my main dollhouse.

20140504-161448.jpg

I decided to have a play with this mini project as I’ve reached a bit of a dead end for now with the main house.

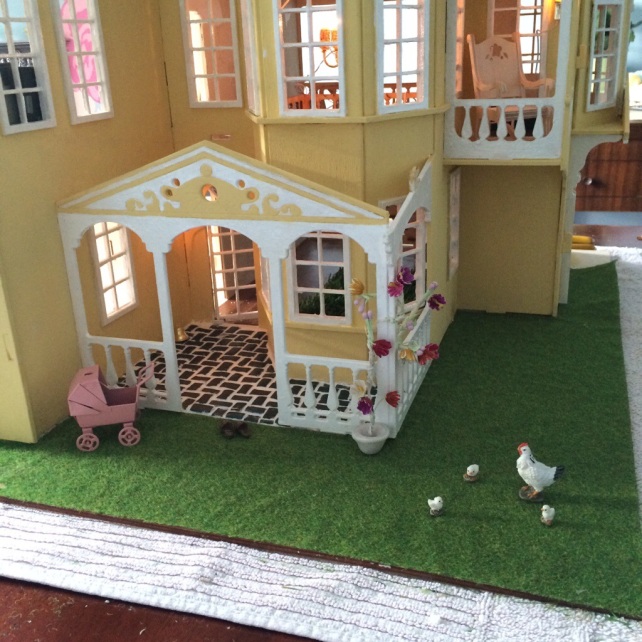
I quite fancy the idea of setting it in a garden or field and making the location rather than just the house.

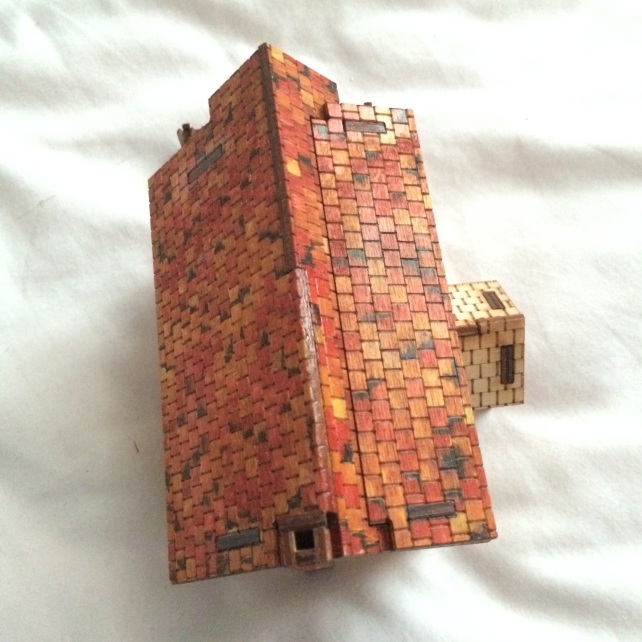
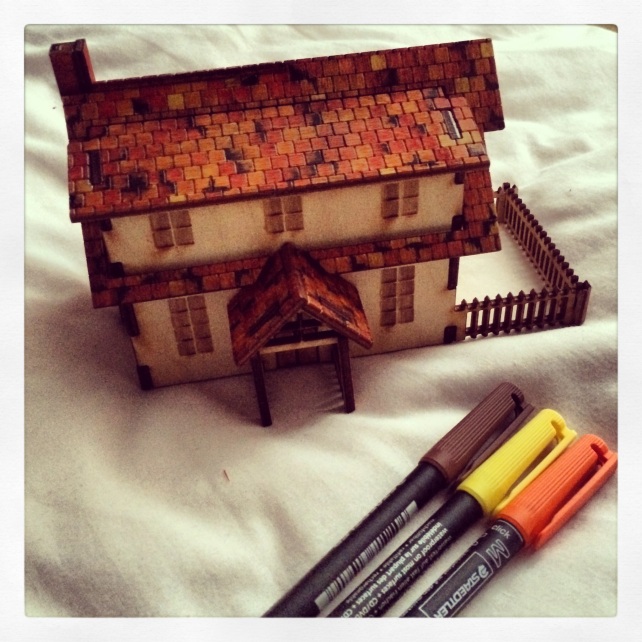
I also wanted to experiment using different materials to the usual paint and tiles. For the roof I used colour permanent marker pens to create a varied tile effect.

Although there are limitations with the blending and colours achievable by not using mediums like paint, I think the result was quite successful. Especially for a first experimentation!

20140504-161722.jpg

20140504-161741.jpg

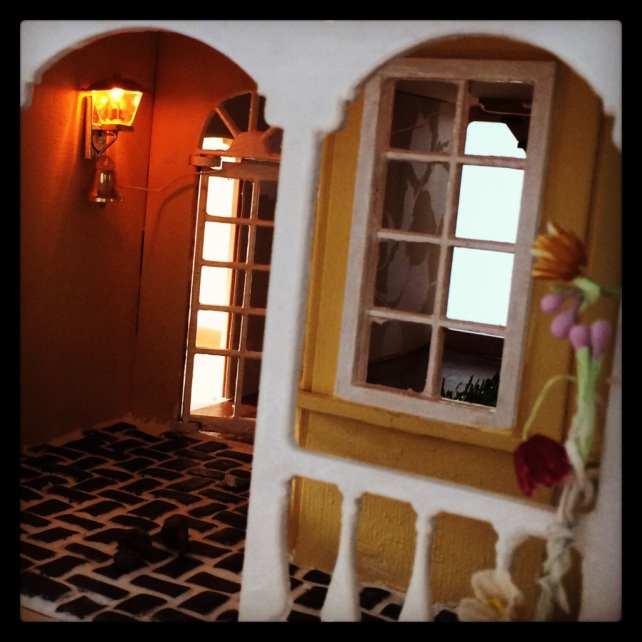
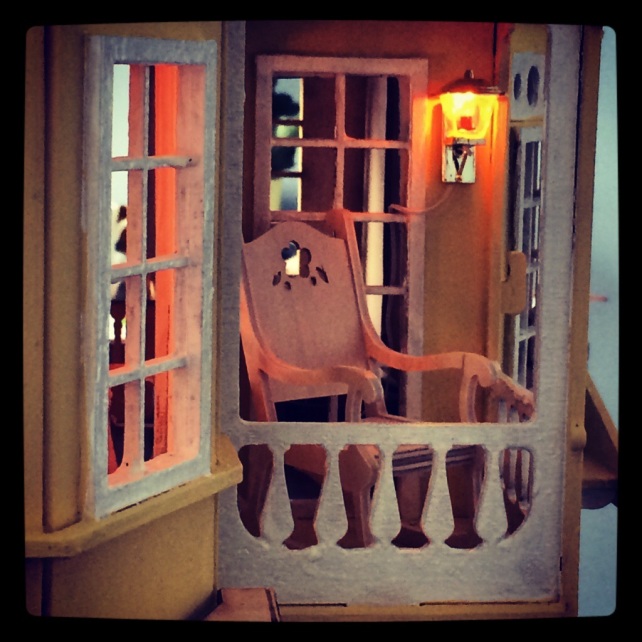
I then used a magnolia paint for the main walls. I’m not sure house these will be the finished result however. It all looks a bit pristine at the moment.

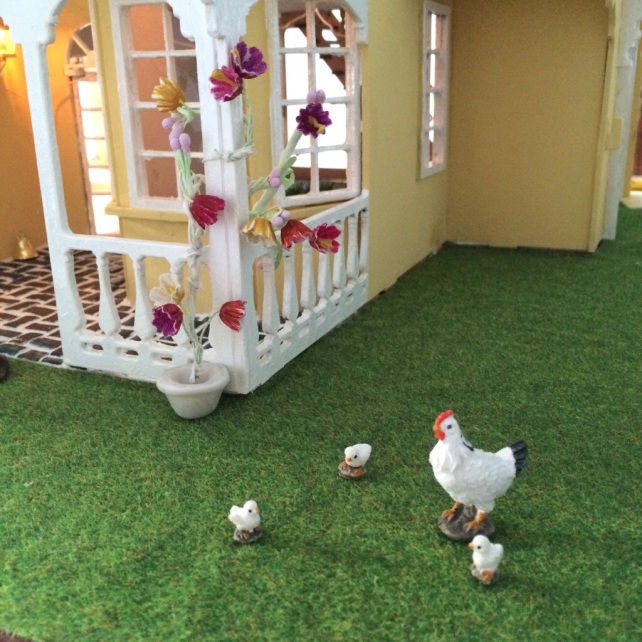
I used some AstroTurf free samples for the garden and the dollhouse grass I had left over from my main house for the surround.

20140504-162026.jpg

Tiles for the roof

I’ve pondered for months, literally, over what to do about tiling the roof. It looks so impressive but can be so expensive. And not to mention the decision of whether to use texture sheeting, tiles or stencils? And do you go for terracotta, maroon, light or dark grey? So many choices!

But another decision was made after seeing so many of these options first hand at the dollhouse show. I’m a little sad to say that price did end up playing a role in my decision making process, but it was always going to really, I have way too much roof to cover!

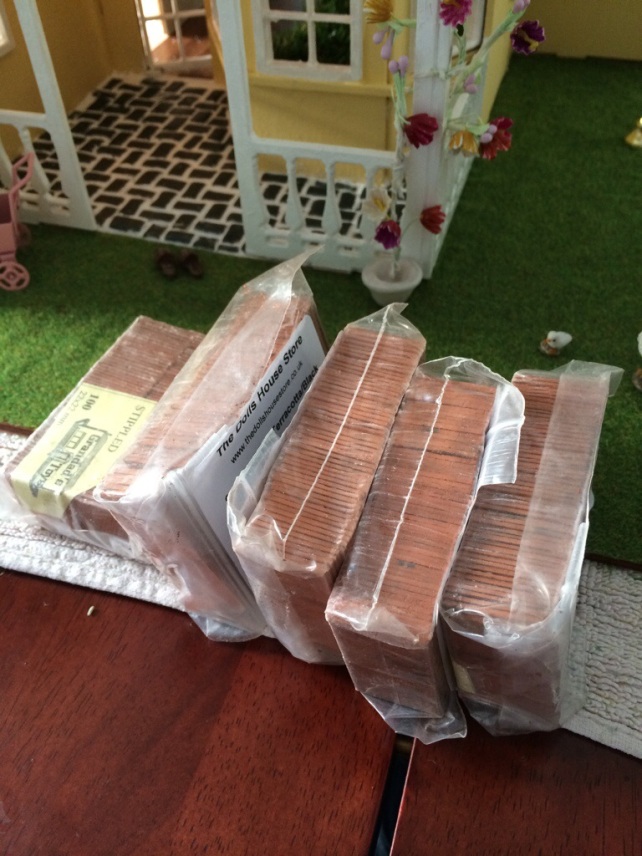
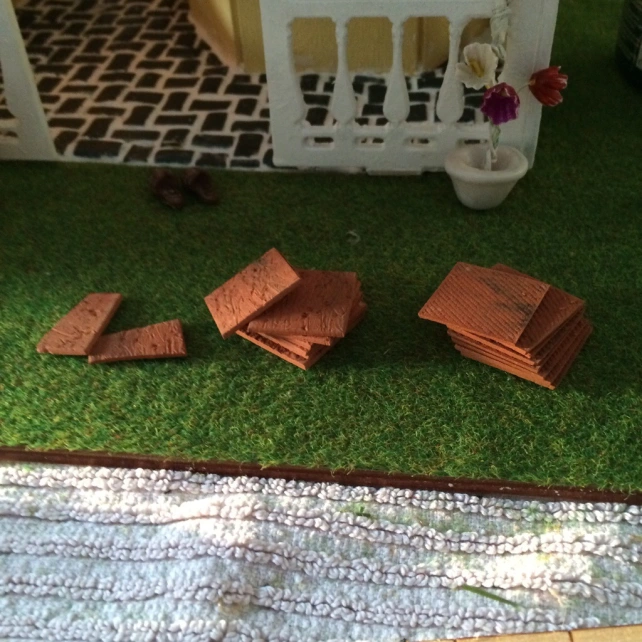
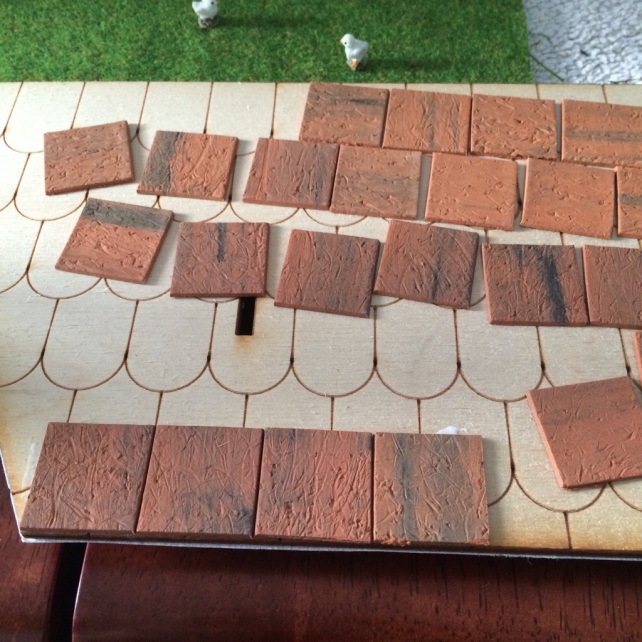
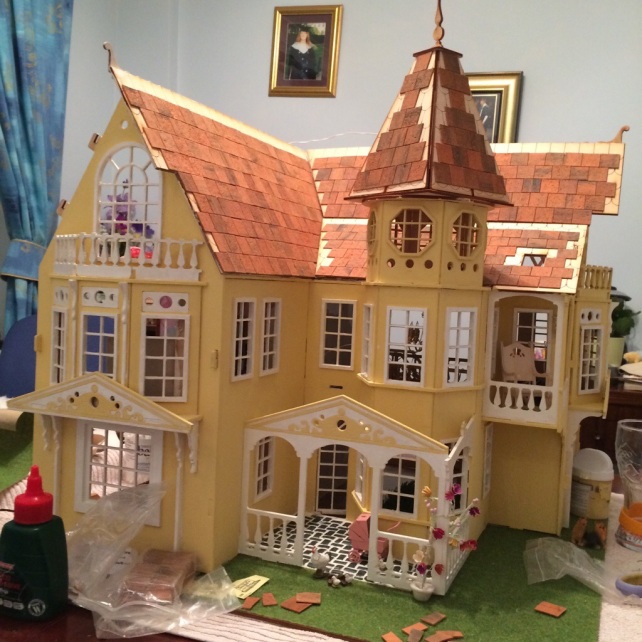
I chose a terracotta clay square tile, some of which are weathered in appearance to give an authentic feel.
I’m a little worried that I didn’t actually buy enough to cover the whole area though…


20140331-210612.jpg

20140331-210629.jpg

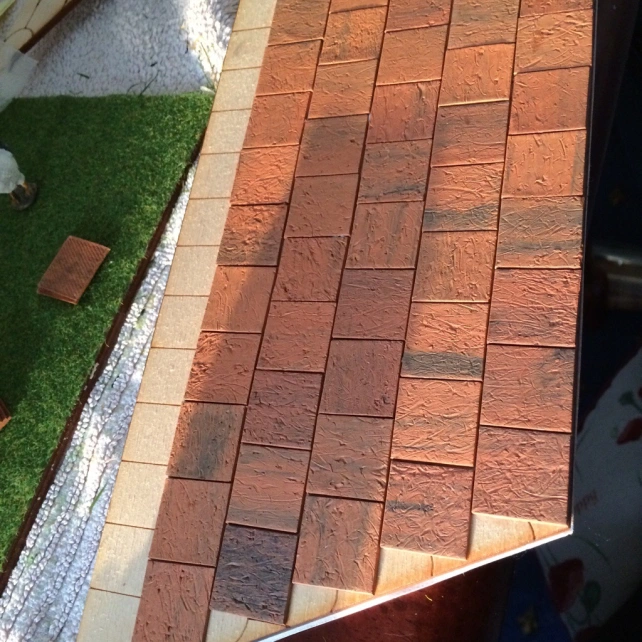
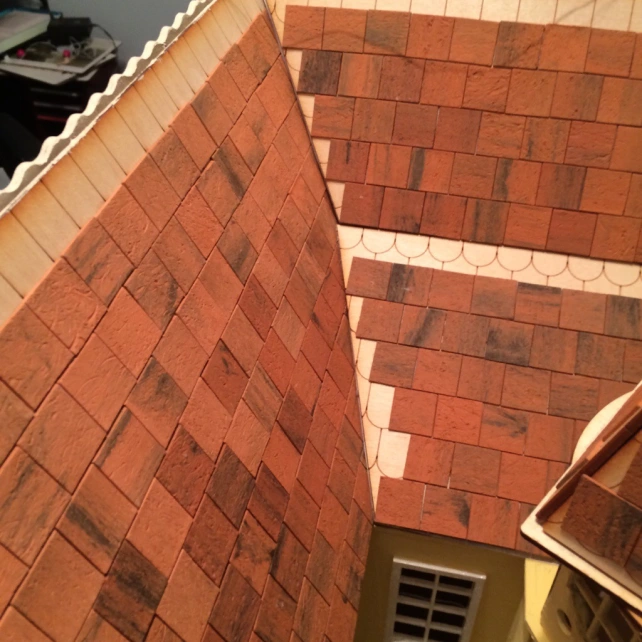
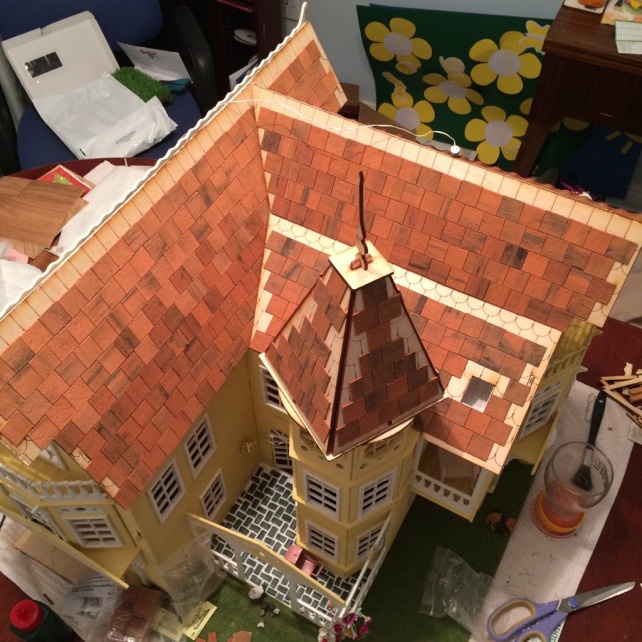
I painstakingly hand glued each tile individually. Placing each row in the gap of the previous.

20140331-210805.jpg

20140331-210851.jpg

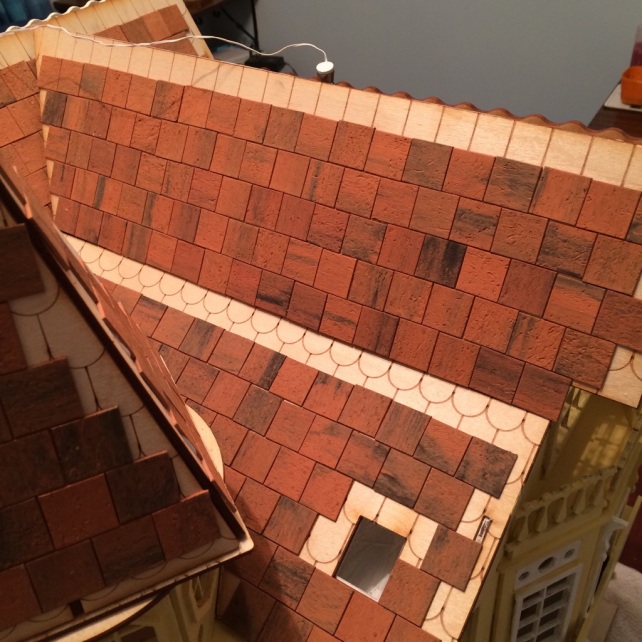
I haven’t finished yet as I need to find a way to cut out all the tricky shaped pieces. But here is an idea of the finish so far, and the amount of time it took me!


20140331-211316.jpg

20140331-211401.jpg

20140331-211431.jpg

20140331-211444.jpg

A manakin for the craft room

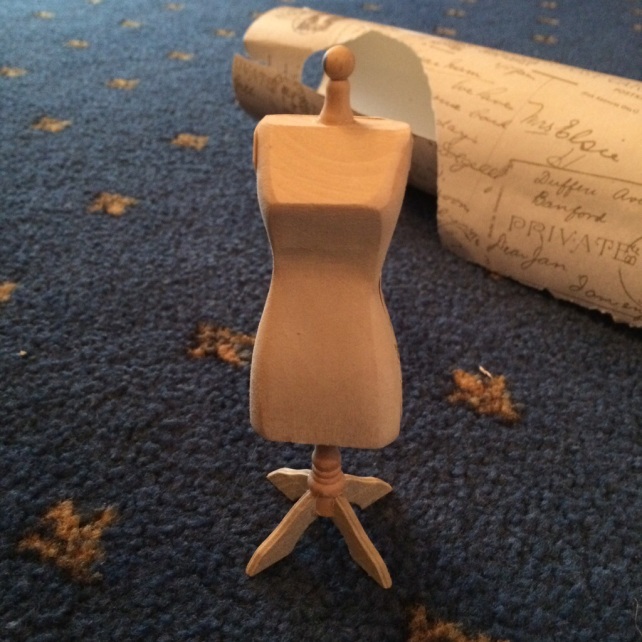
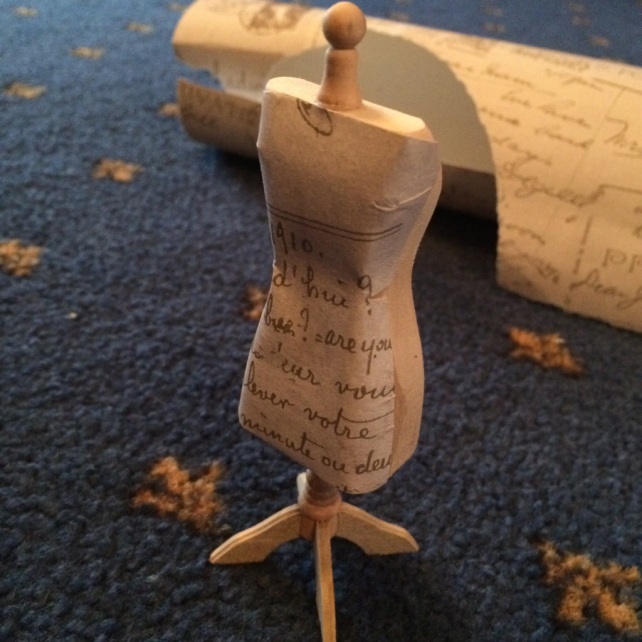
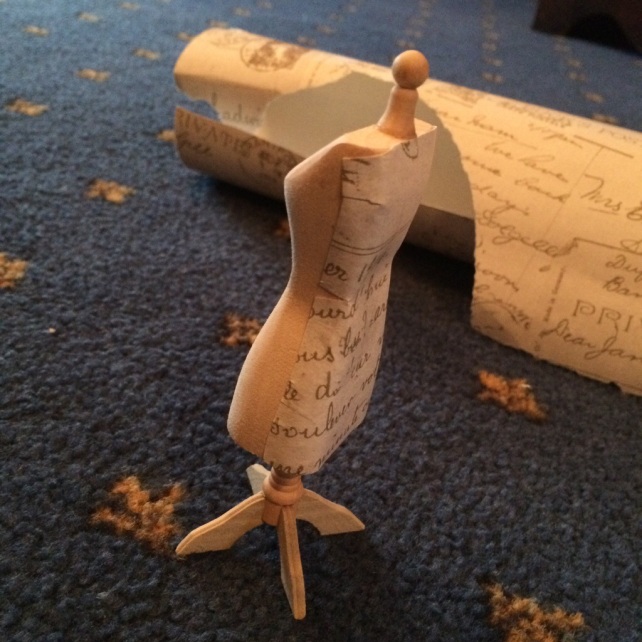
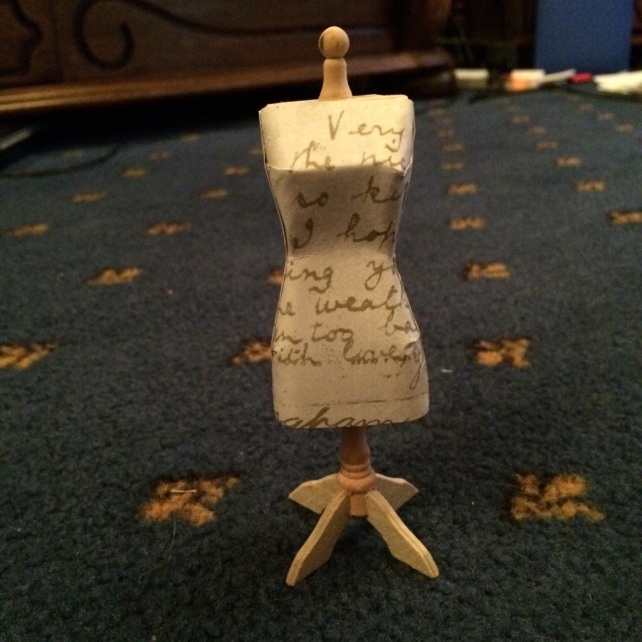
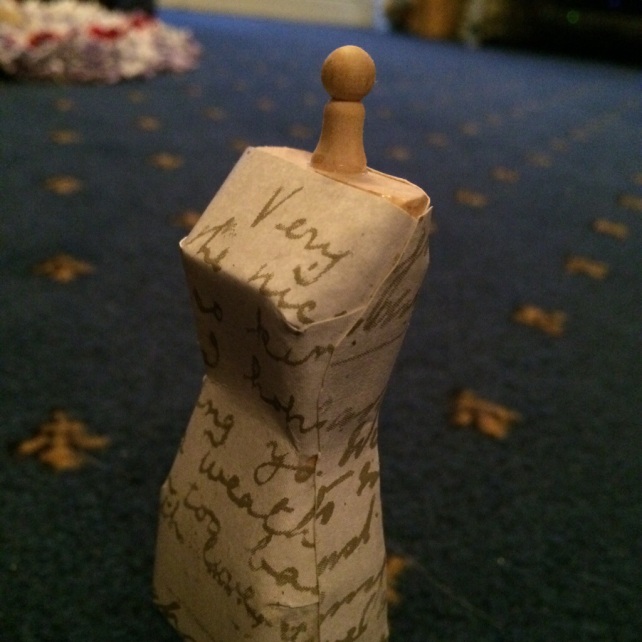
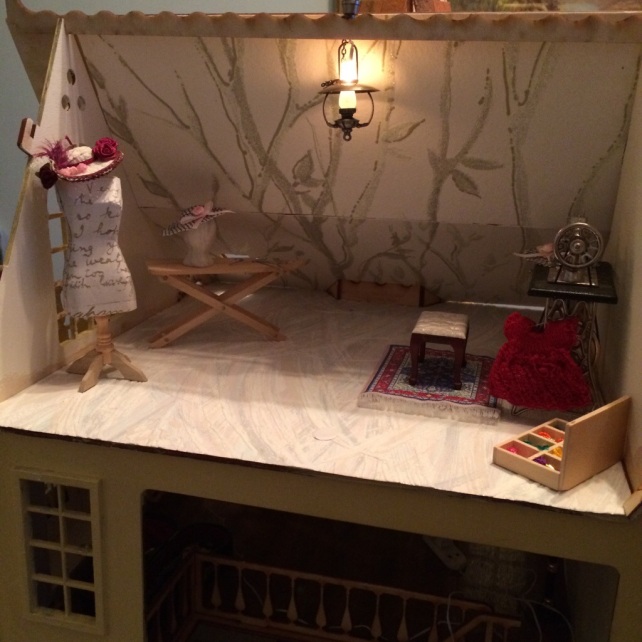
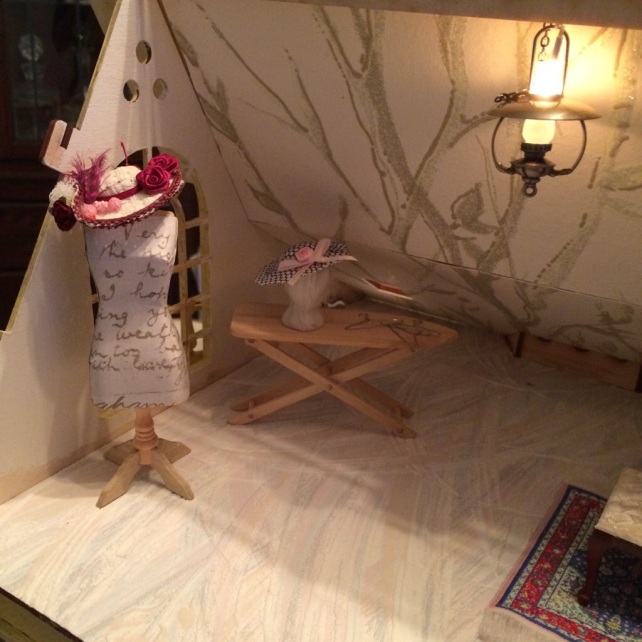
The craft room is my favourite room in the house, not surprising really! And I’m happy to say that I finally got myself a manakin and have begun to decorate it too!

20140331-205226.jpg

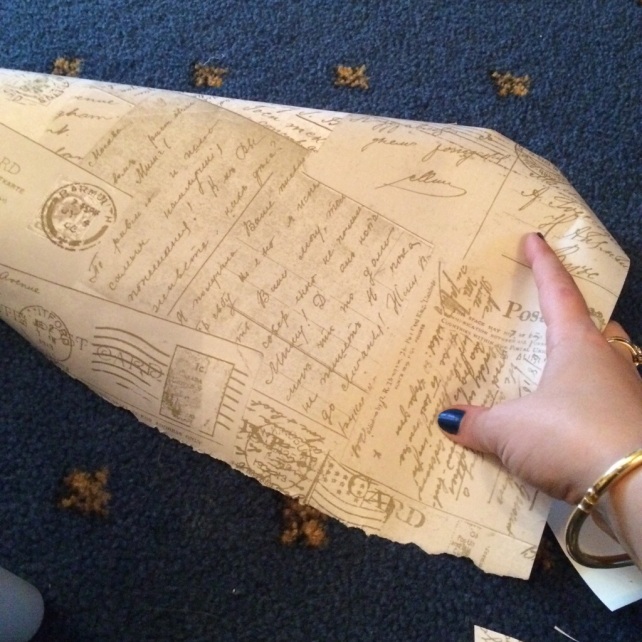
I couldn’t decide whether to use paper or fabric to cover the body but in the end I settled for a spare free wallpaper sample I had lying around.

>

20140331-205352.jpg

20140331-205400.jpg

20140331-205423.jpg

20140331-205434.jpg

20140331-205441.jpg

And here it is, pride of place!

>

20140331-205531.jpg

20140331-205546.jpg

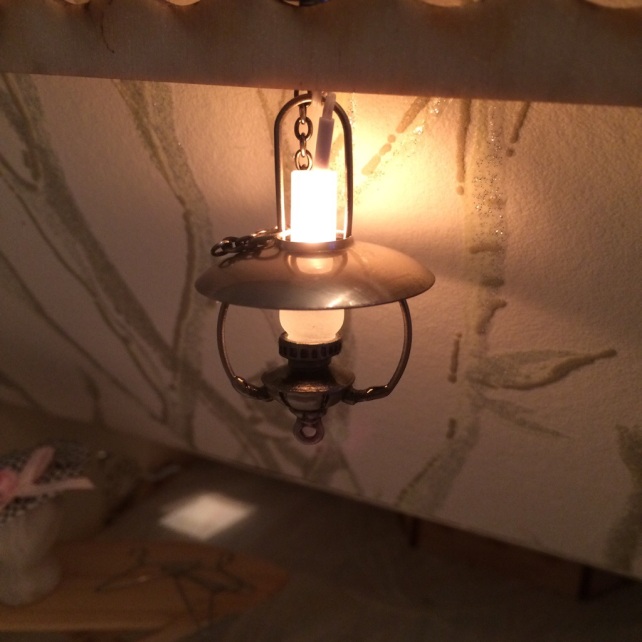
Also, for those of you who are beady eyed, you may have noticed I’ve got a new light in this room. Another dollhouse show bargain at £3!


20140331-205742.jpg

Time for the garden

So as you’ll probably have guessed by now I love a bargain and better still a freebie!

For the outside of my house (beyond the nicely tiled porch area) I have been hunting for, and not wanting to buy, some grass. I ordered some artificial grass free samples but alas they were too large (and not to mention incredibly messy once you started snipping away at them!)

Since I began with this project I have tried to avoid some of the crazy expenses which can often be associated with decoration such as wallpaper sheets, tiles and other cute but expensive items. And up til now, grass had been in this category too!

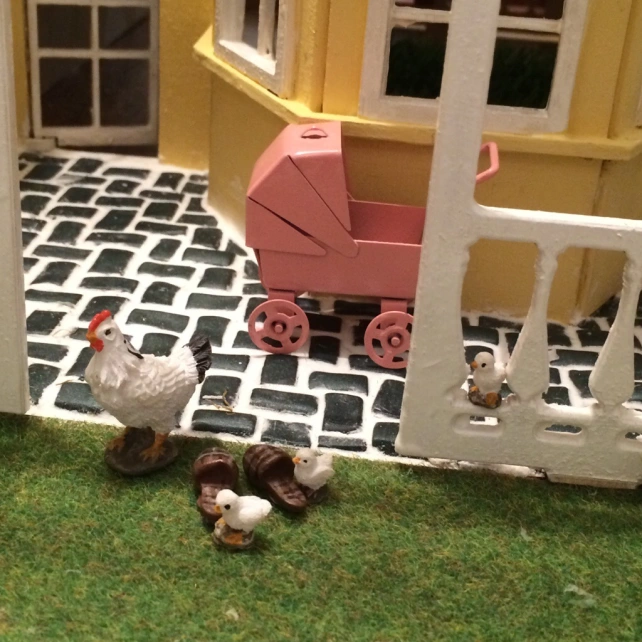
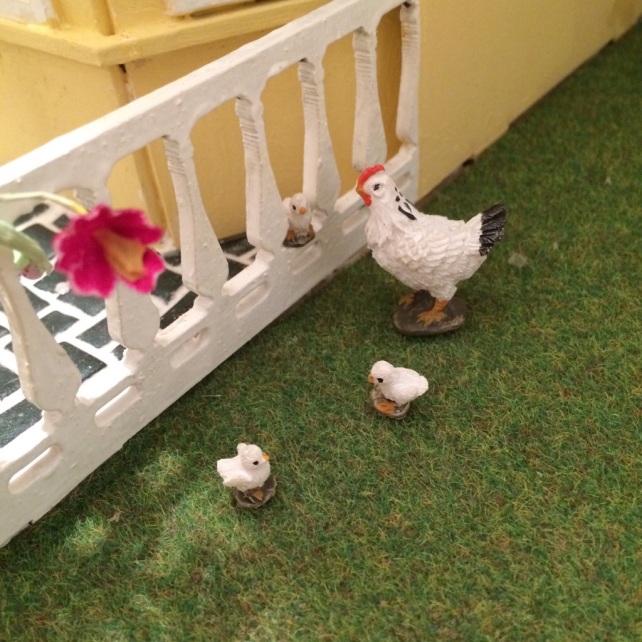
The sheet I bought was a green/yellow shade of grass, more realistic than others I had seen and only cost £3 for a sheet 19″ x 15″. I could be wrong, but I didn’t think that was too bad. I also treated myself to some chickens whilst I was there, just what every garden needs!

20140331-204131.jpg

20140331-204150.jpg

20140331-204210.jpg

20140331-204227.jpg

20140331-204248.jpg

20140331-204318.jpg


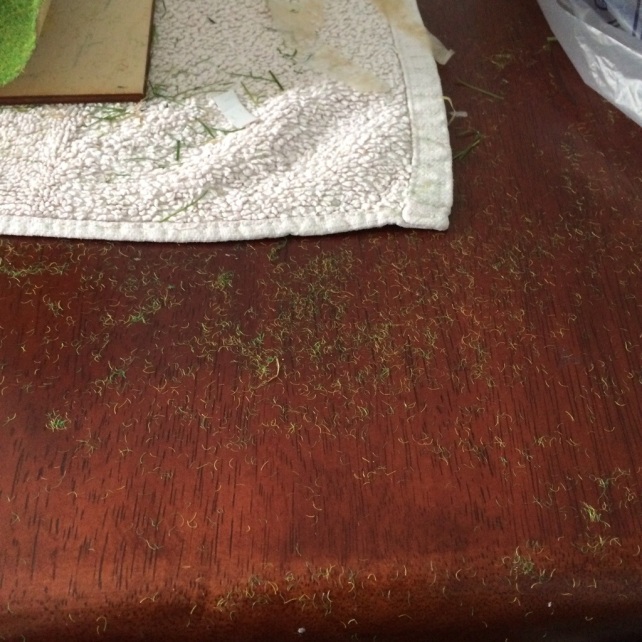
But just a heads up, it’s still a messy process…


20140331-204542.jpg

Finally got my chandelier!

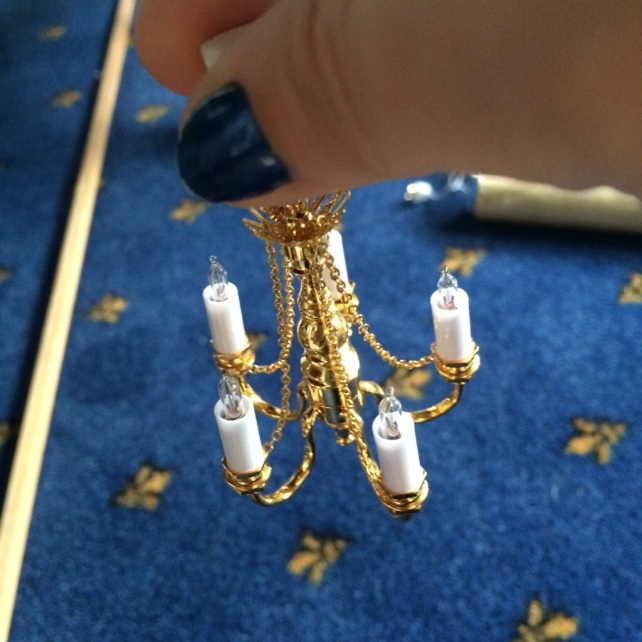
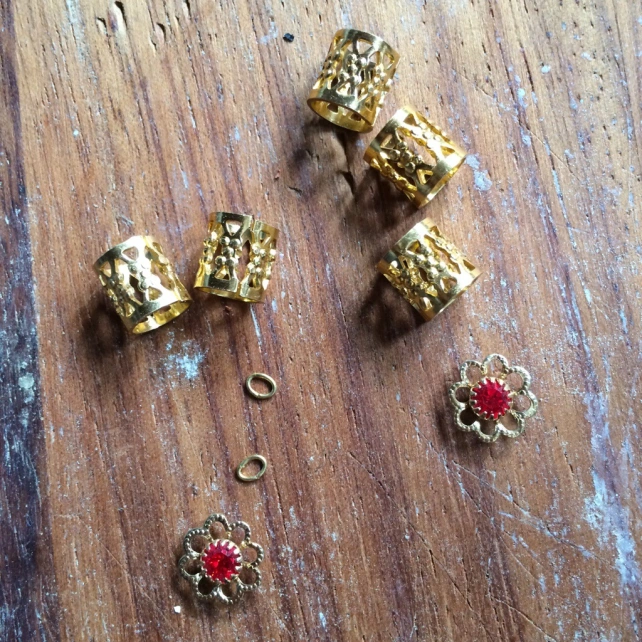
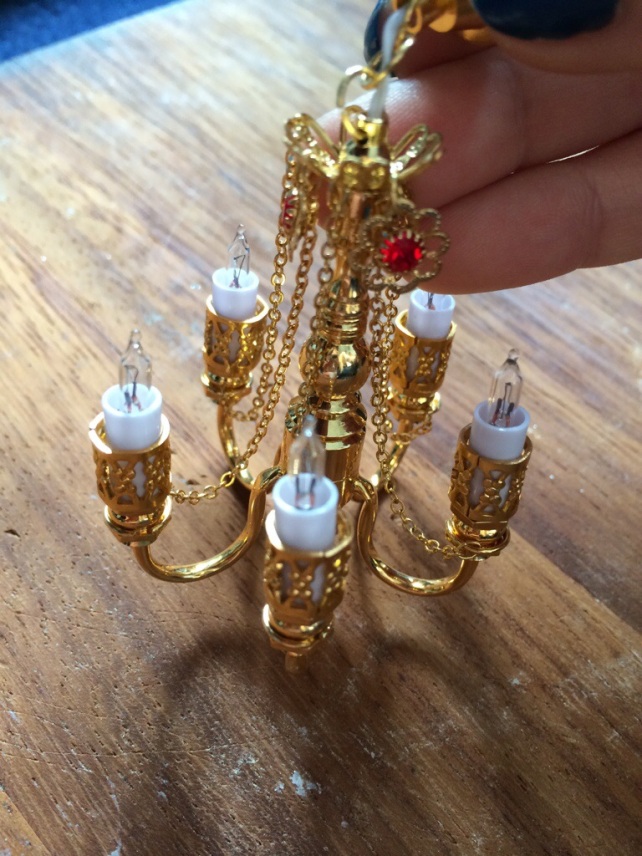
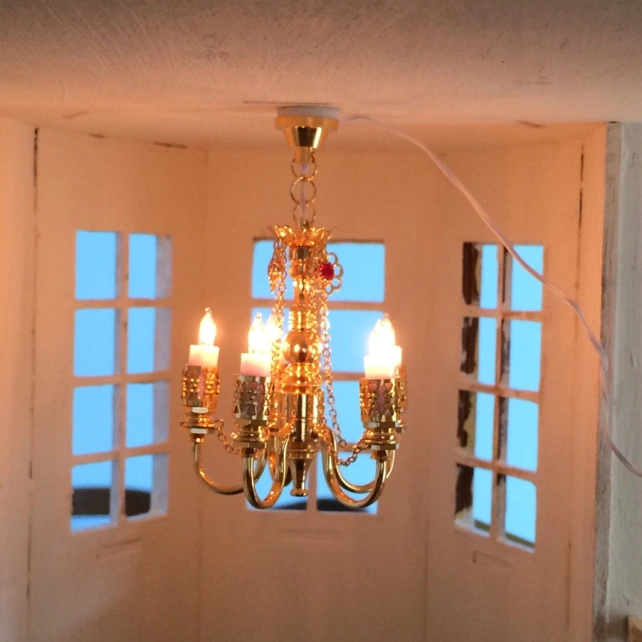
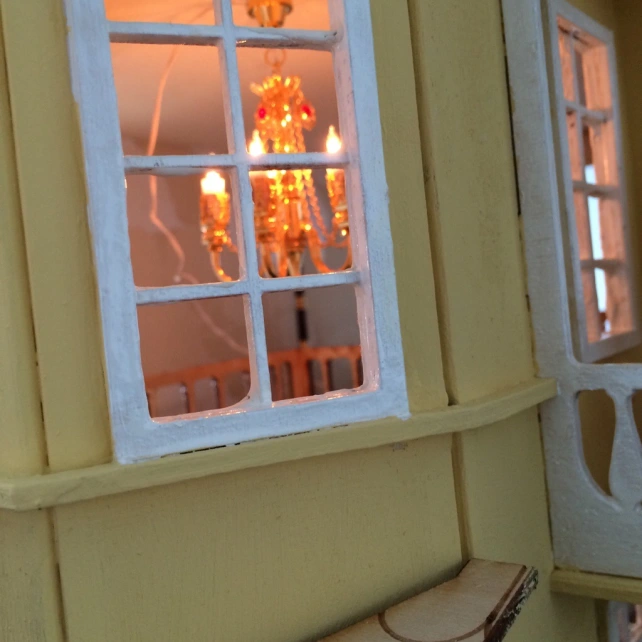
So yesterday at Miniatura the dollhouse show in Birmingham I finally took the plunge and purchased the chandelier for my ballroom.

I was so lucky and actually managed to get it for less than half price as it had been used as a show model. Not content with just accepting this cheapness I decided to invest in a few accessories to personalise it. (It would have been rude not to, right?)

20140331-202108.jpg

>

20140331-202207.jpg

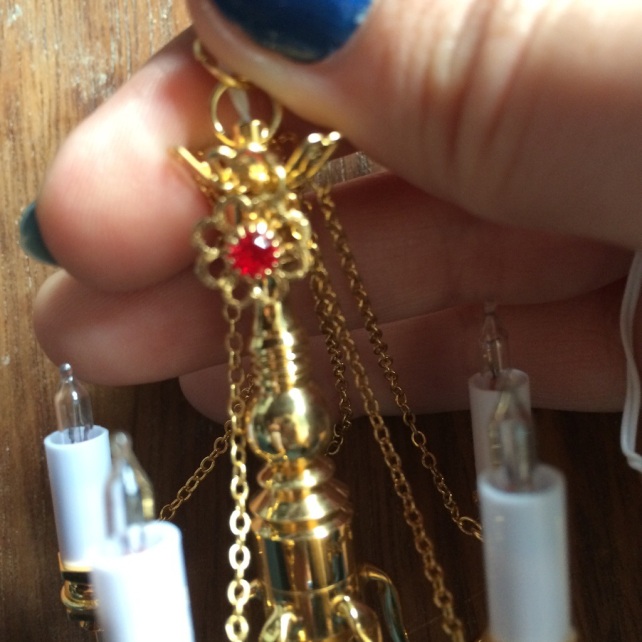
It was pretty convenient that I had the chandelier with me when I bought the accessories, it meant I could ‘try on’ the different pieces for size. Handy as my size estimation isn’t great.

The went for some ‘cuffs’ for each of the candle arms and some sparkles for the top. I’m pretty pleased with the results, simple but effective! And I managed the whole thing for just £10!

>

20140331-202627.jpg

20140331-202742.jpg

20140331-202817.jpg

20140331-202850.jpg

20140331-202910.jpg

Miniatura – The 62nd International Dollhouse Show

Yesterday I went to Miniatura at the NEC Birmingham (England) it’s the biggest miniature dollhouse exhibition of its kind in the UK and potentially Europe (although don’t hold me to that one). It’s the first time I’ve ever been and I wasn’t disappointed.

It gave me tonnes of ideas and techniques to try. Some truly inspirational houses and decorative pieces. I’m still amazed when I see some of the intricate tiny pieces people manage to make. It’s definitely a skill level I aim to achieve, eventually. Very eventually…

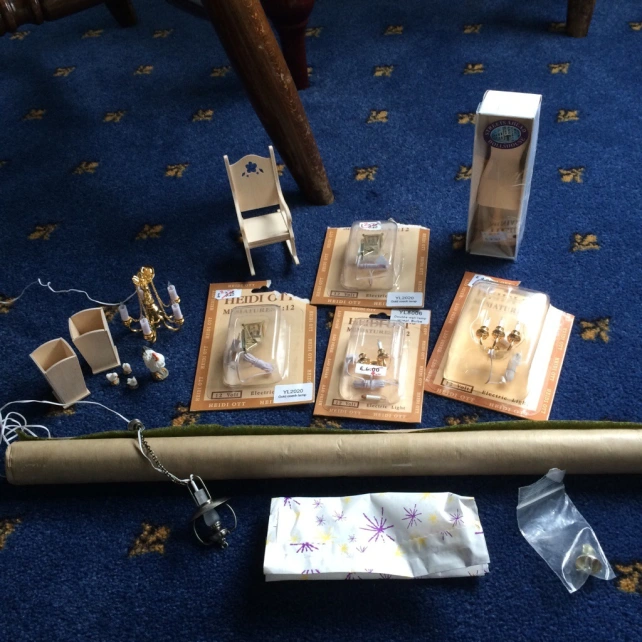
Here are a few of the pieces I treated myself to. If money had been no object I’m sure I’d have come home with the entire exhibition hall!

20140331-201357.jpg

Flooring for the Ballroom

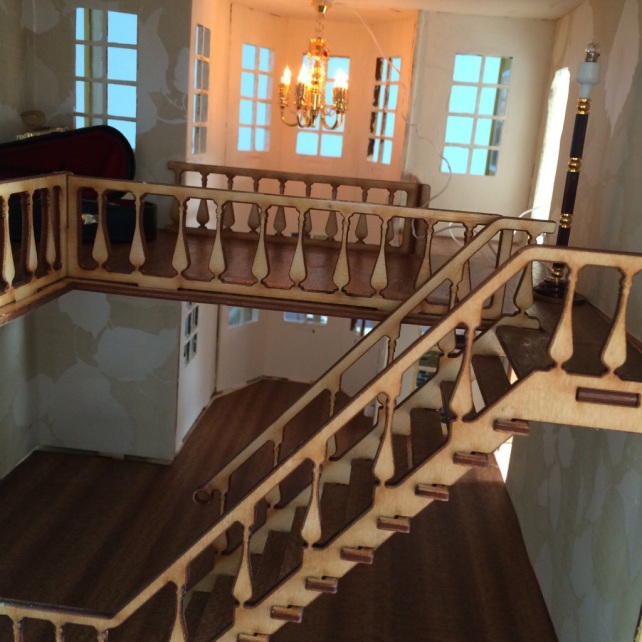
I’ve finally made a decision about the decor in the large, ballroom area of the house.

The walls were all painted cream (as per usual) with two walls on either floor wallpapered in a subtle patterned cream.

I wanted to either tile the ballroom floor (although i’ve done a far bit of that in the house already) or apply a wooden flooring. I really didnt want to use a paper image flooring that you can get as I didnt think this would look very good. I found an old laminate door cover in the garage. Essentially it is a wood textured sticky back plastic. This worked in my favour though as it was easy to cut  and apply. Although I did have to use glue as the sticky back wasnt all that sticky afterall… and that brought with it additional problems of air bubbles in the floor.

1922275_10152205460815033_25010960_n(Before)

IMG_20140306_215041

IMG_20140309_085351

IMG_20140309_085602

IMG_20140309_085811

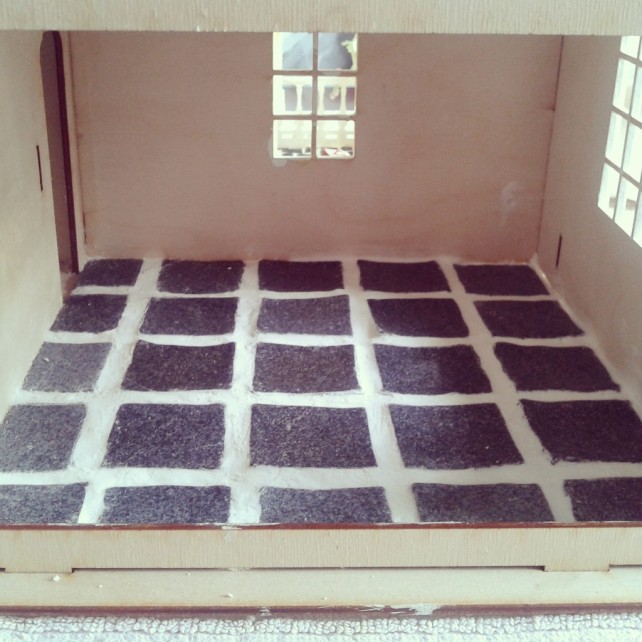
The Finished Granite Floor

Ta-dah!

IMG_20140309_084810

In hindsight I think the floor tiles are possibly too far apart, however I’d have needed to buy a second clay to create more tiles so I tried to stretch them. For only my second attempt however I am pleased with the result and, as the tiles and polyfilla were laid onto a sheet and not applied directly to the base, I can change them at a later date if I decide otherwise.

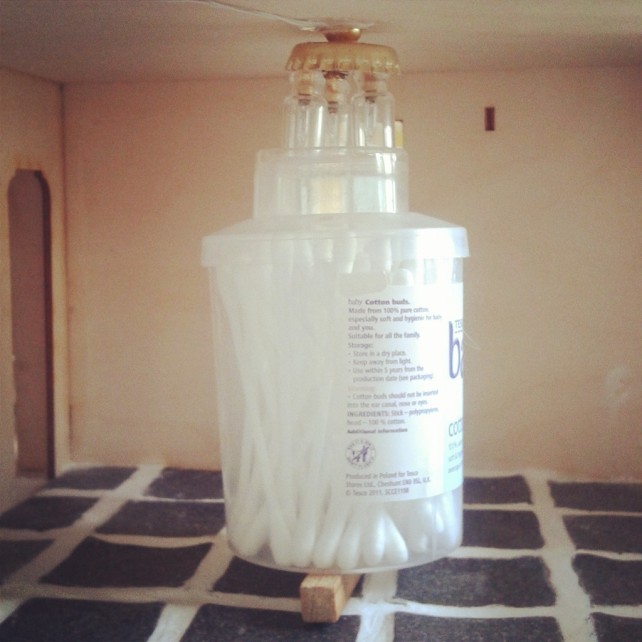
Now to add the jar ceiling light I made earlier! Waiting for glue to dry whilst holding the object is very tiring, so I decided to improvise…

IMG_20140309_085101

Charm Box Sofa

As you’ve probably seen in my posts to date, my lounge is currently furniture-less. The furniture I had left over from my original dollhouse was too large for the room in this house and so I needed to find an alternative.

The original plan was to buy a sofa set for the new house. However, whilst scrolling through various websites looking for perfect piece I stumbled across a corner suite which would fit in perfectly with the layout of the room (but not the decor as it was stripey!). I planned instead to make my own corner sofa using small pieces of square dowel and then covering the frame with foam and fabric.

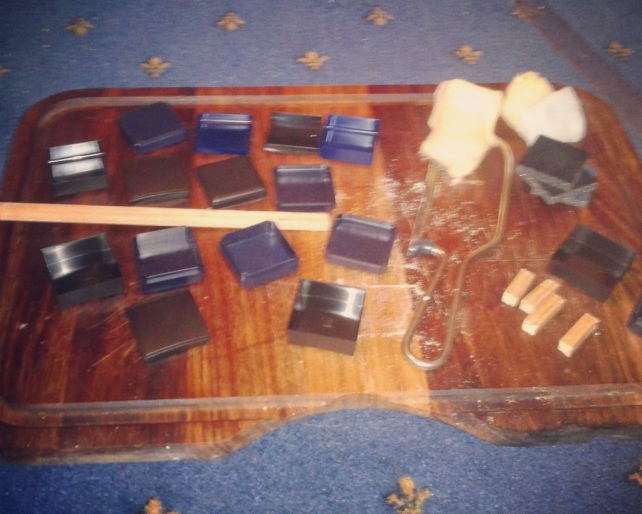
Even better than this, I found a stash of old charm boxes in our craft room which were the perfect size and shape for the frame I was intending to create. The charm boxes even had foam padding which I could use for sofa cushions!
IMG_20140302_114048

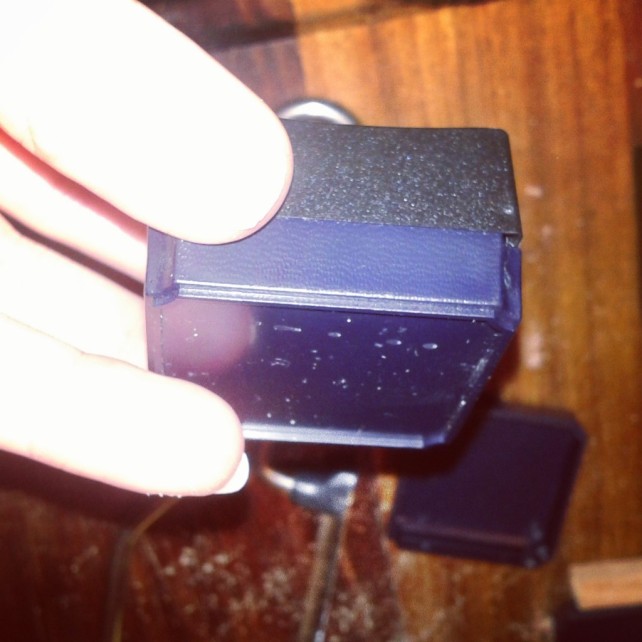
I set to work pairing the bottoms of the boxes with ones of equal size to give the chairs the height they would need. Some of the boxes had shaped corners to I made sure all these would be used as the chair bottoms whilst the plainer, square bottoms were used for the seats. The lids of each box would then be used as the chair backs.
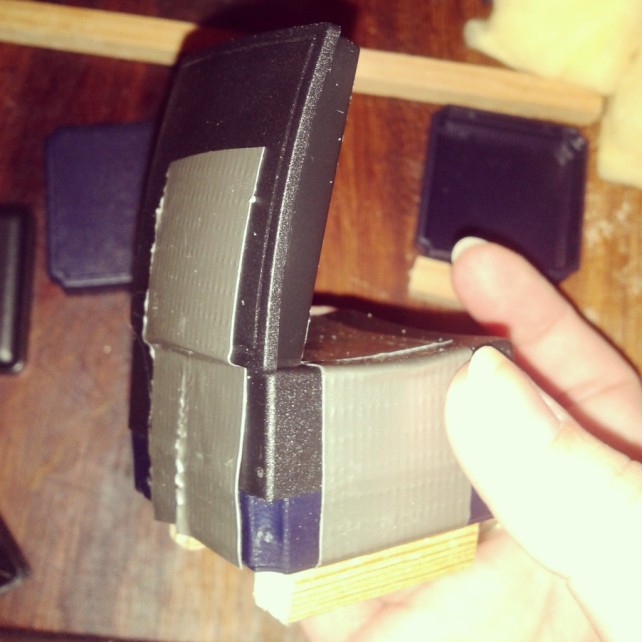
IMG_20140302_114302

IMG_20140302_114844

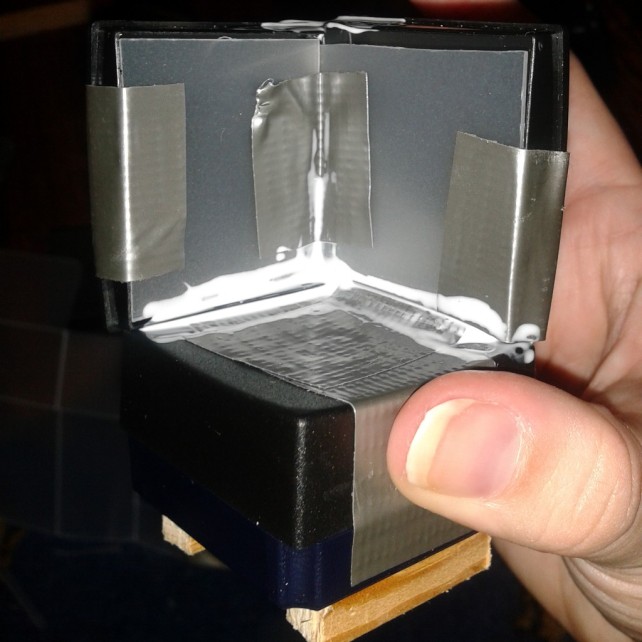
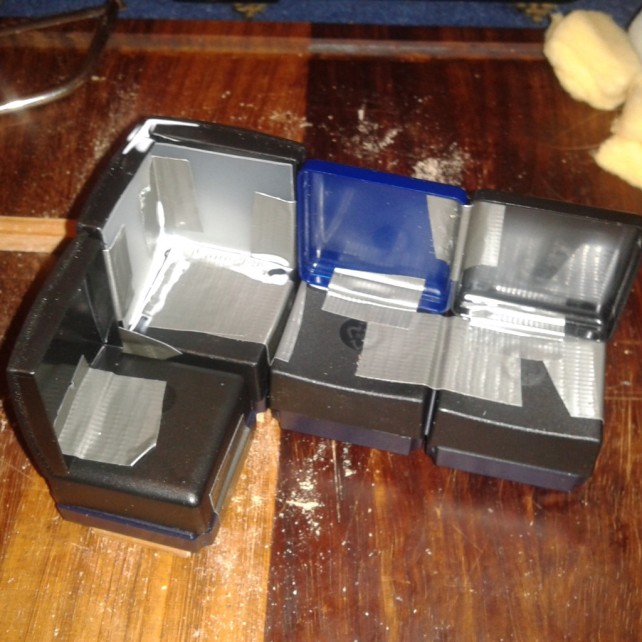
I glued two small pieces of square dowel onto each size of the base to make the legs. I used ductape to quickly fasten together the different parts of the seat. It didnt matter too much about being neat as I planned to cover each chair with fabric later.
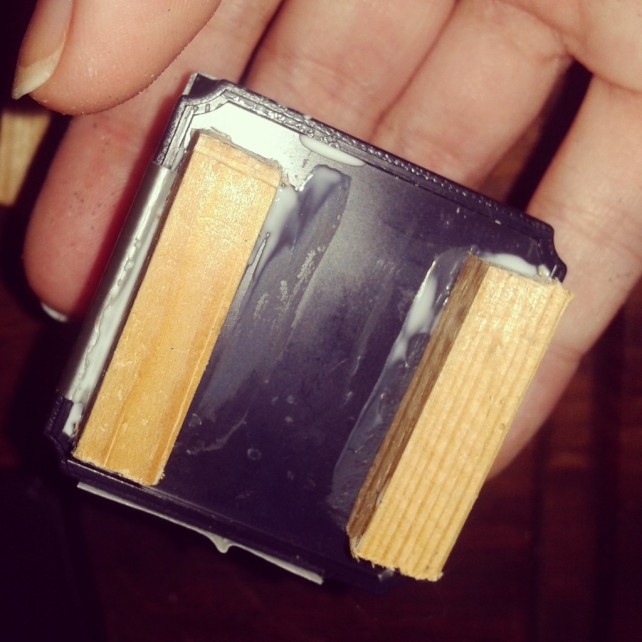
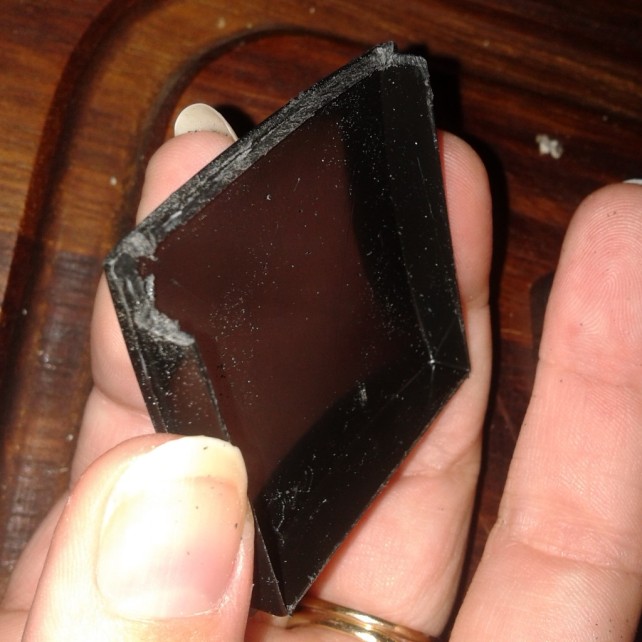
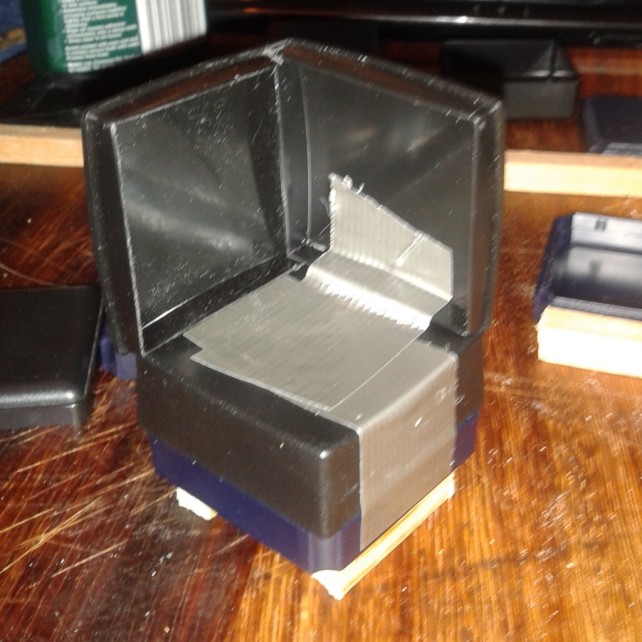
IMG_20140302_114540The corner chair was a little bit more difficult as it would require two chair backs/sides and, as I was using the charm box lids, the corner edges would get in the way of one another. I carefully removed one side of one of the lids using a craft knife to allow the lids to slot inside one another at the corner.
IMG_20140302_115114

IMG_20140302_115250

I covered the front indent of the chair back with a piece of plastic to make it easier to cover the chair with fabric later on in the process.
IMG_20140302_115535

This was then repeated for each of the individual chairs until finally my sofa suite was complete!
IMG_20140302_115742

Then to cover each sofa in fabric!

The first challenge here was to decided what fabric to use based on the already colourful decor in the lounge..

I settled for a boring cream but intend to add more colourful cushions and additions later on.

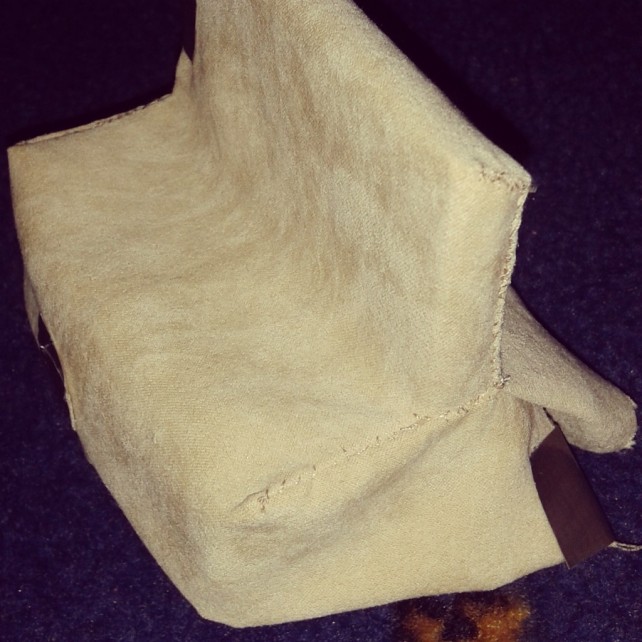
I tried to use a single piece of fabric for the whole sofa to avoid it looking too messy. I placed cuts on either side to shape the fabric as required. This was a very long, frustrating and trying process and I’m sure there would be an easier way to do it than the method I used…
IMG_20140302_120110

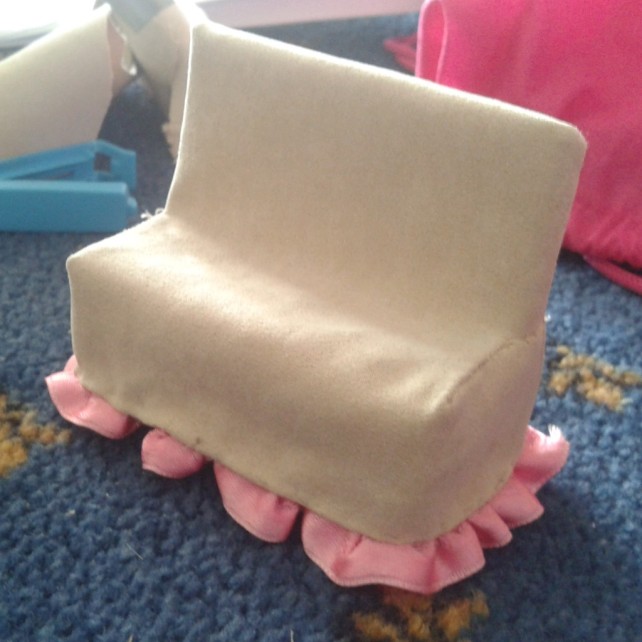
However eventually the main sofa was completed! I added a trim using a thin ribbon which I ruffed before attaching to the bottom of the sofa (covering the legs).
IMG_20140302_120213

Just 2 more to go now…