
There are all sorts of methods for creating floor tiles/tile effect flooring in a dollhouse. From patterned paper to paint and stencils to moulds and miniature tiles. Each with their own level of difficulty, expense and realism.
I set myself the challenge this time around of using miniature tiles and grout for the flooring of the patio, large lounge/ballroom area and tiles for the roof (eventually). However after looking around various sites online at pre-made tiles or DIY moulds and casting powder I was a bit disappointed to find that pretty much every method I could find was out of my price range.
I then found an article online with a stone flooring made from kitchen counter samples. This got me thinking about possible methods for making my own tiles.
To avoid buying expensive moulds I knew that the material used to make the tiles would need to be fairly firm, such as a clay. I found a range of FIMO effect ovenbake clays which were available in a range of stone effects including Quartz, Marble and Granite. Even the non-stone range clays were very details in appearance and could have passed for tile/slab material.
For my first attempt I decided to create a crazy pavement style patio floor with small, and given my lack of mould potentially irregularly shaped tiles, in an opal green shade for the front of the house. The clay was initially quite tricky to knead however given a bit of persistence I managed to roll the clay into a shape a couple of milimetres thick. I would recommend using a rolling pin for this to ensure universal thickness however as I did not have one to hand some of my tiles are fractionally taller than others. Although I dont think you can tell! I then cut the clay into approximately 0.5cm strips and slided each tile about 1cm long. After cutting each tile and then shaped the edged slightly to tidy them up.

As you can imagine this one by one process was quite time consuming!

Time for the oven!

I was terrified at this point that the tiles would curl or burn or something equally disasterous which would ruin all my hard work. 30 Minutes seems like an incredible long time for such tiny tiles to be in a hot oven, so in my paranoier I was checking them about every 5… nothing much changed!
Once removed the tiles looks pretty much the same as they had when they entered. A few had gains some faint black streaking however this added to the effect in my opinion and I’m not convinced you would be able to tell had you not just spent the last however many hours staring at the clay… Finally, I glazed the tiles with PVA to add a faint sheen.
____________________________

Following this I cut out a template of the area to be tiled. This would then make the base which the individual tiles would be glued on to. This allowed me to ensure each piece was in the desired place and avoid the fiddly wall sections which would be in the way should I apply the tiles directly the base. I also needed to cut out individual pieces for the edges of the base which were oddly shaped or too small for the regular tiles I had created.

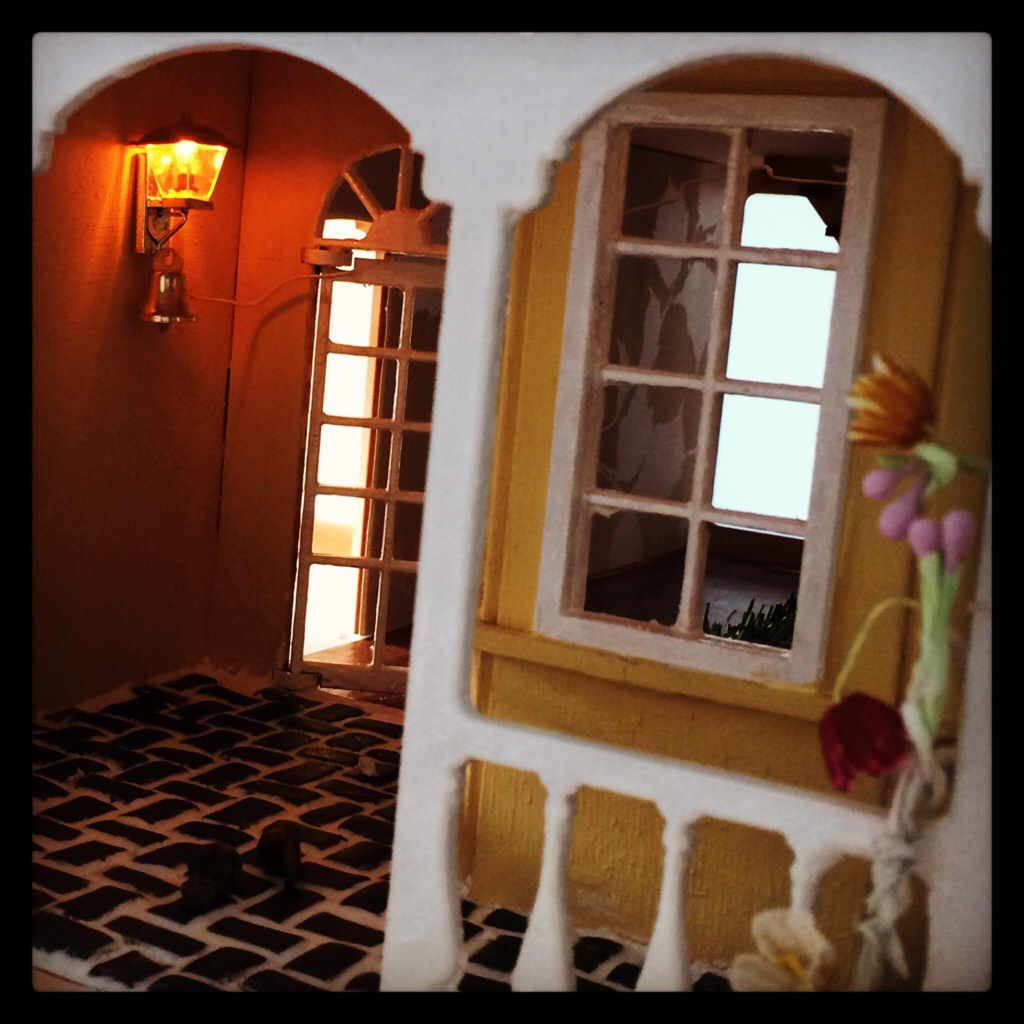
When all the tiles had been glued into place I fitted the template into the area and applied the Polyfilla between the cracks, wiping away and excess from the tops of the tiles. I also applied Polyfilla to the edge of the template cementing the tiles into place on the base.

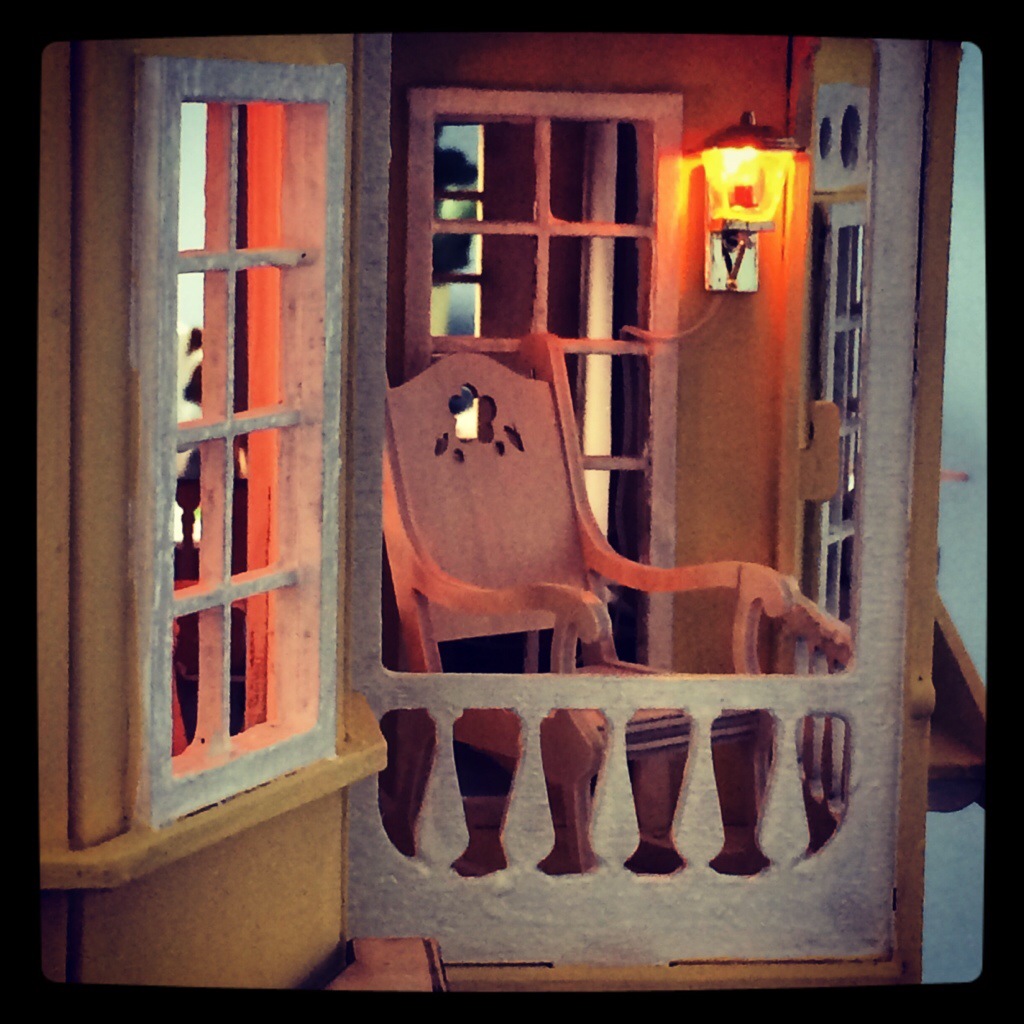
The finished result!


