
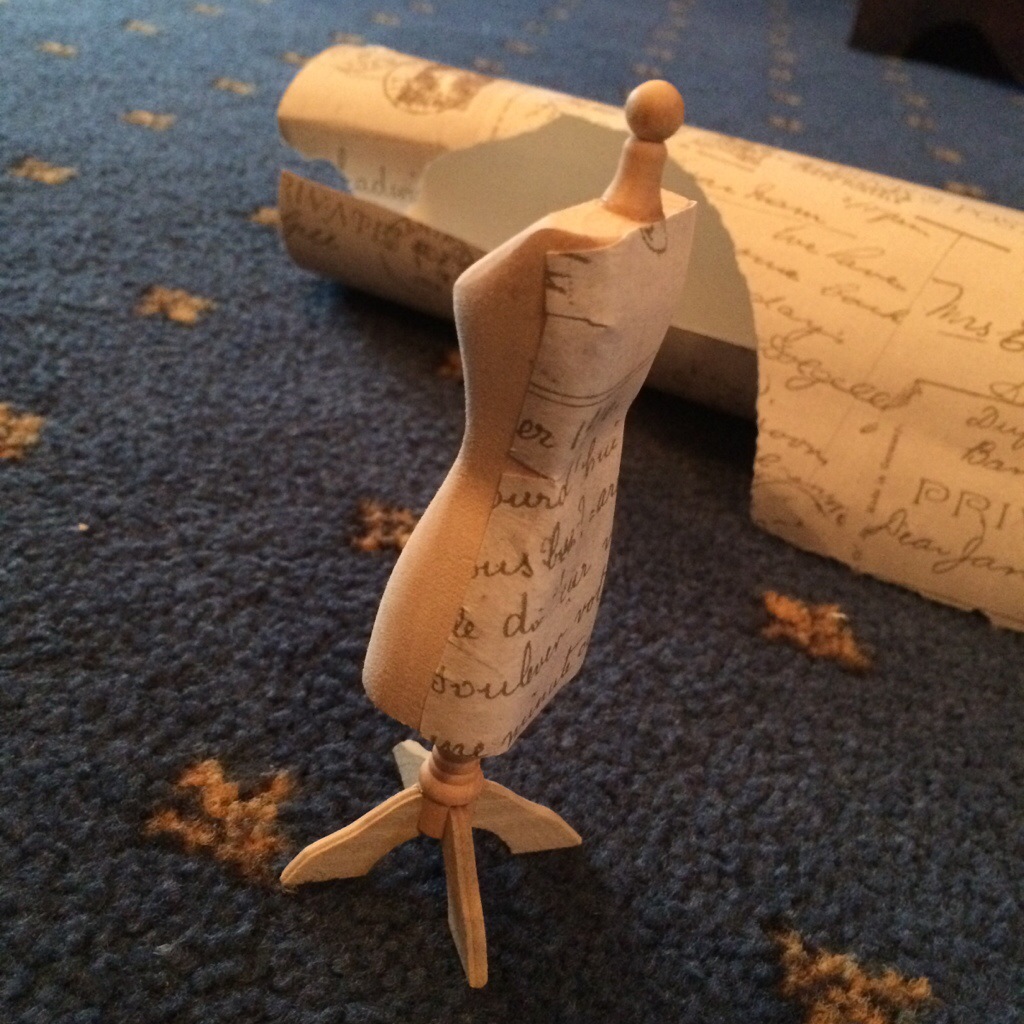
The craft room is my favourite room in the house, not surprising really! And I’m happy to say that I finally got myself a manakin and have begun to decorate it too!
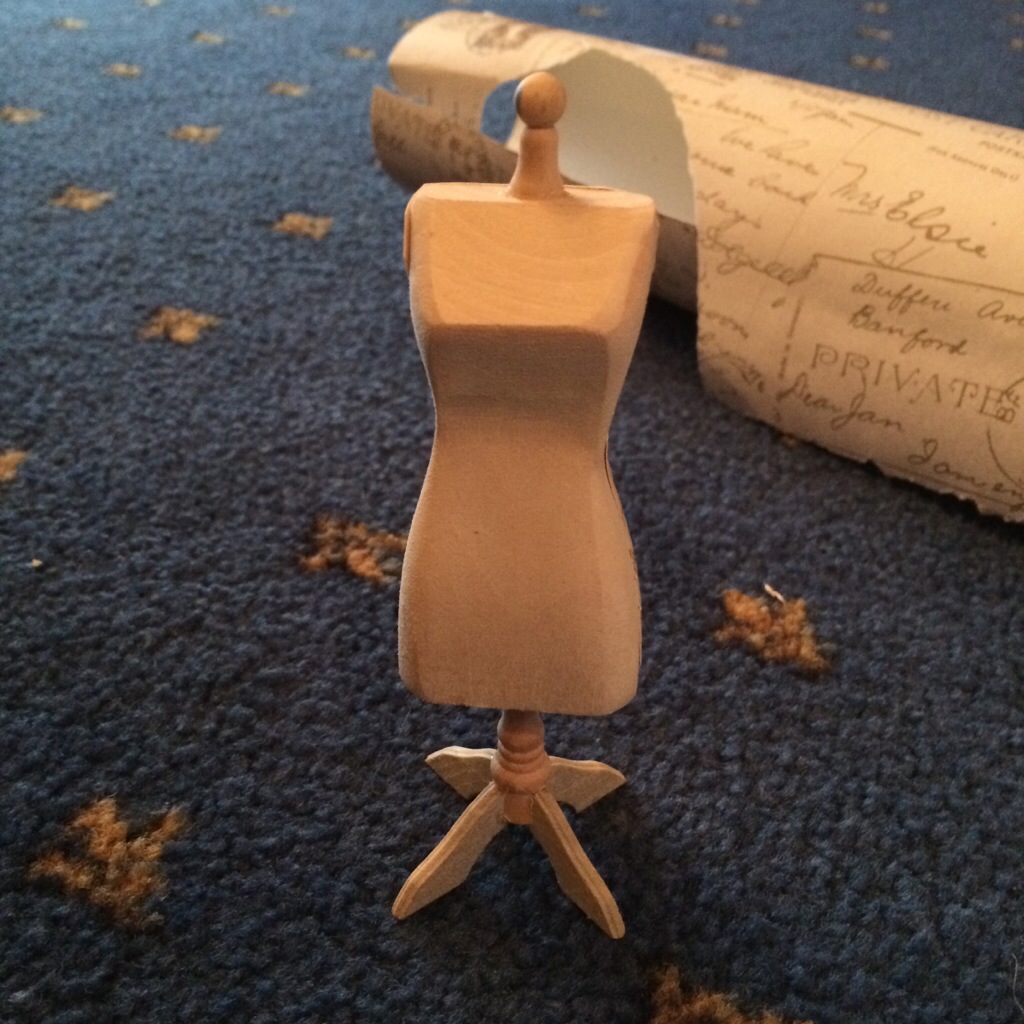
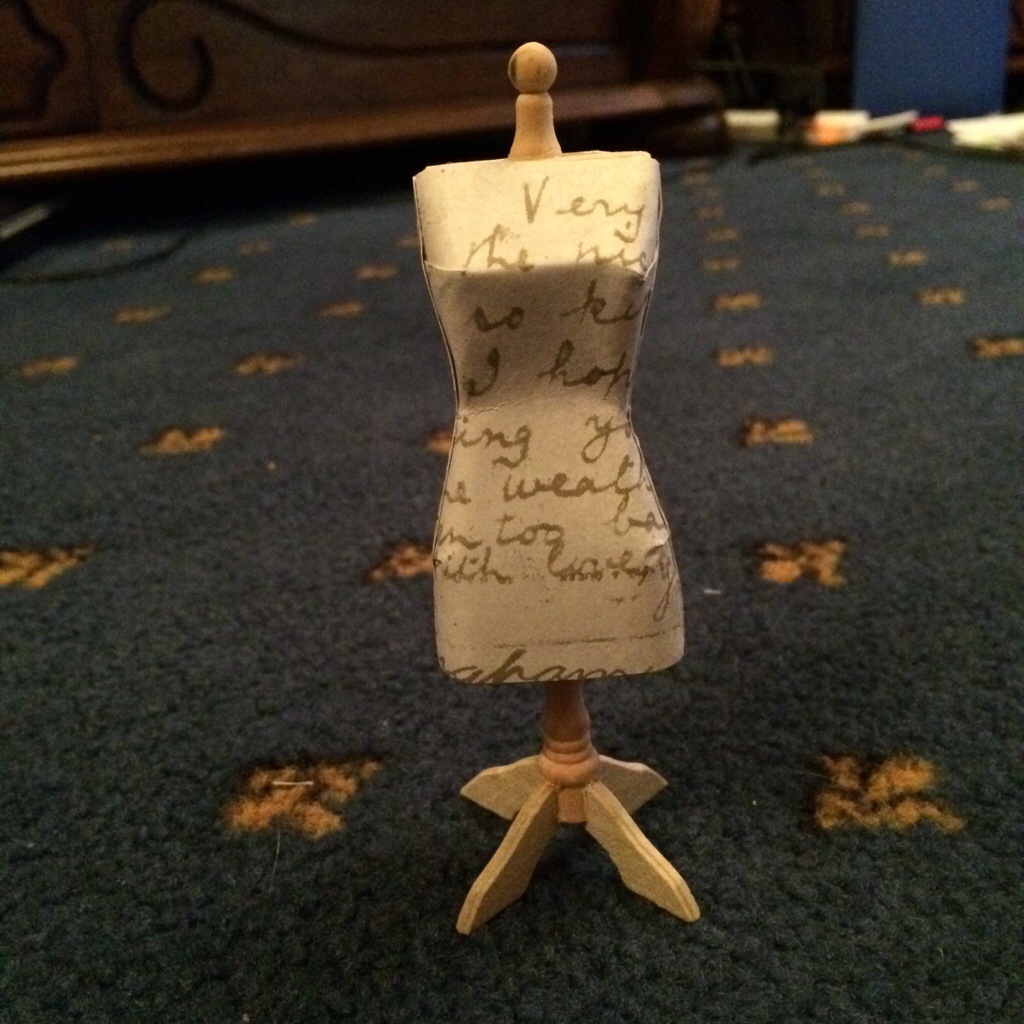
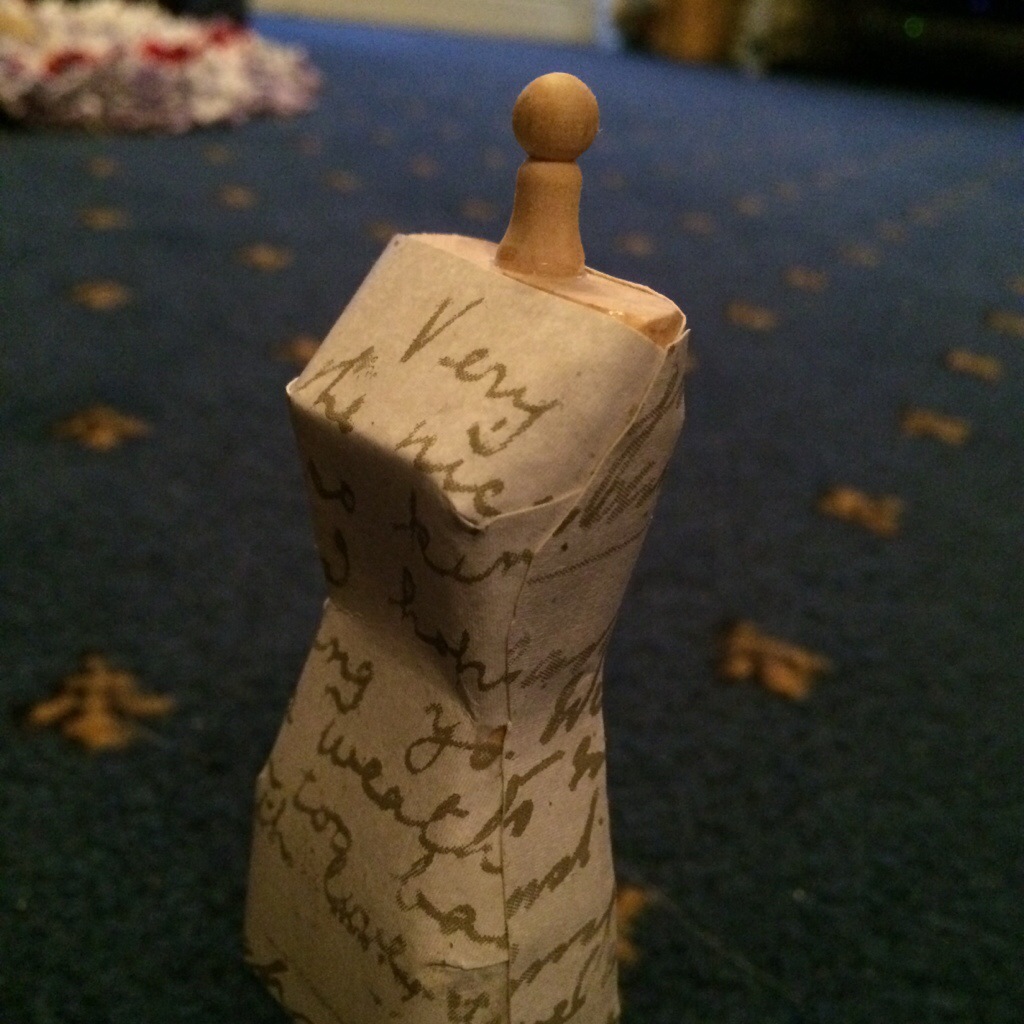
I couldn’t decide whether to use paper or fabric to cover the body but in the end I settled for a spare free wallpaper sample I had lying around.
>

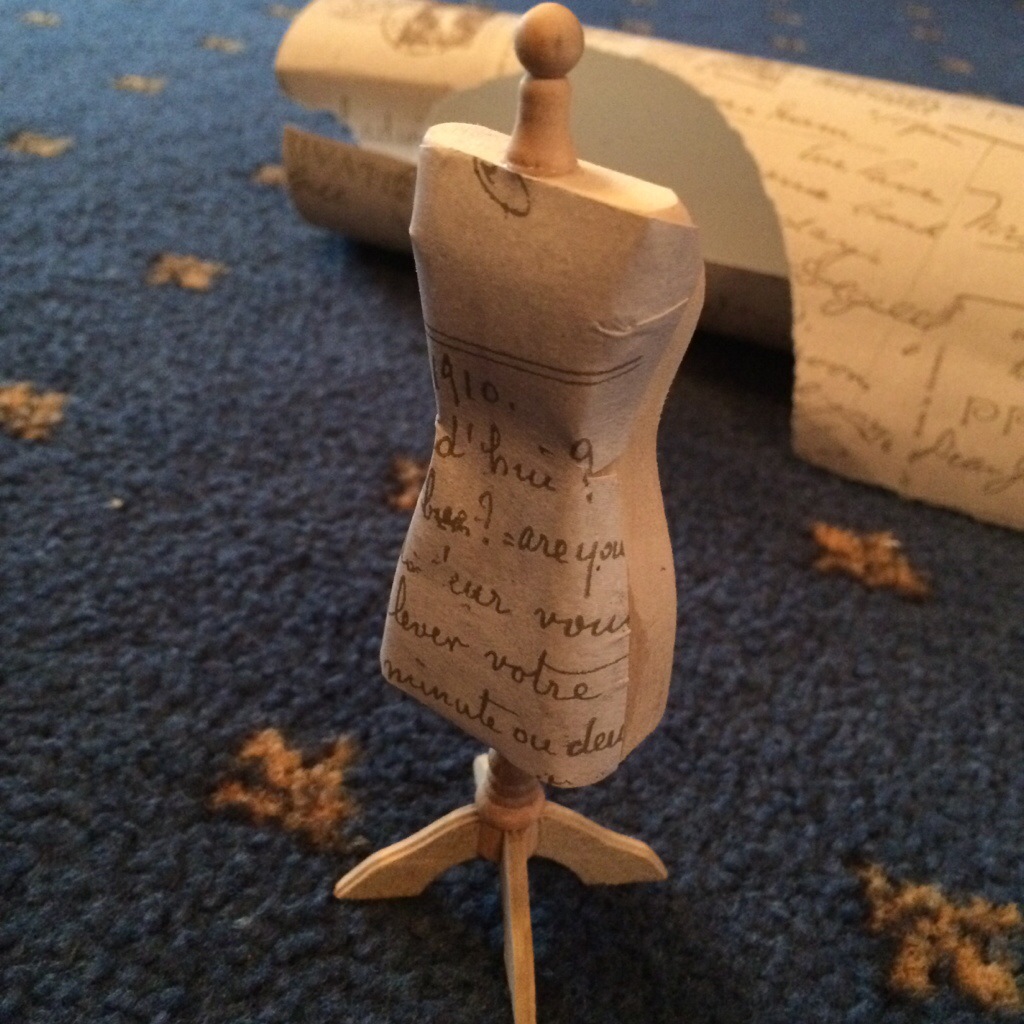
And here it is, pride of place!
>
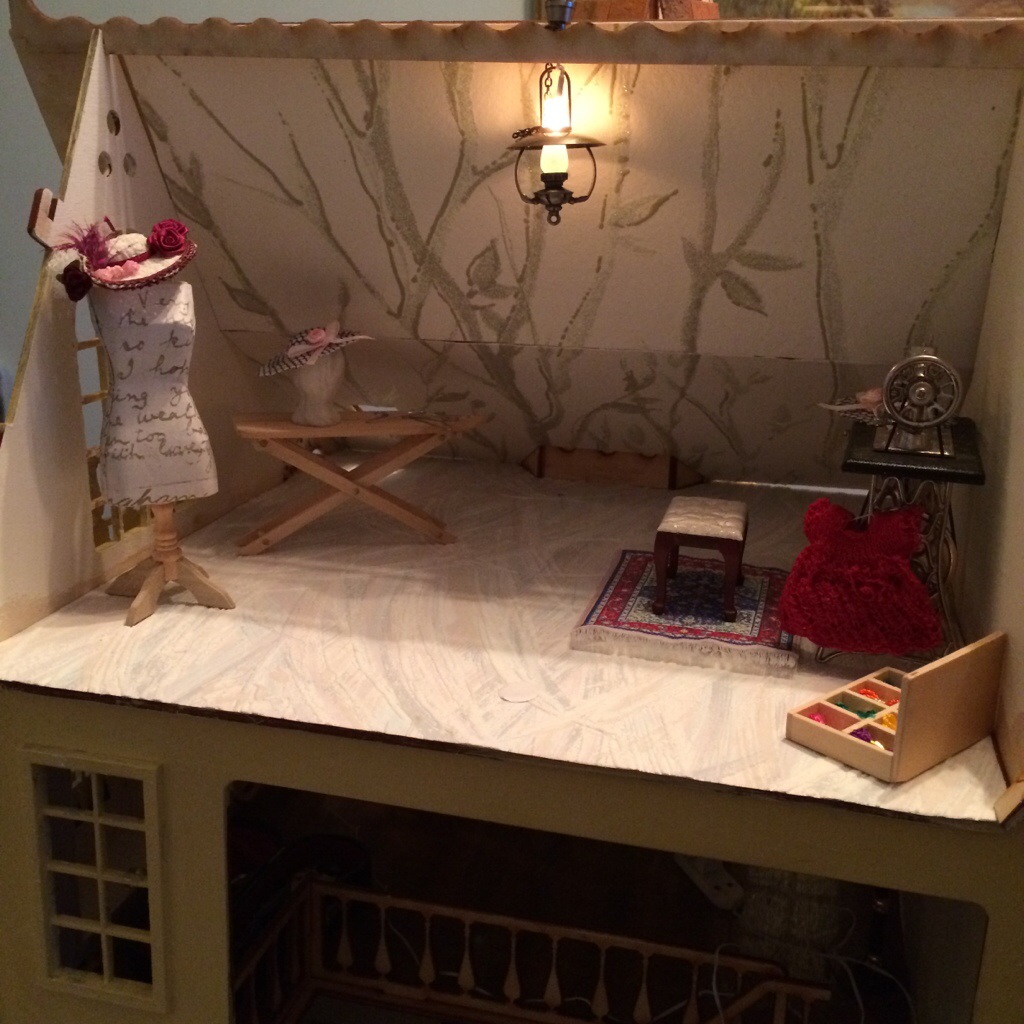
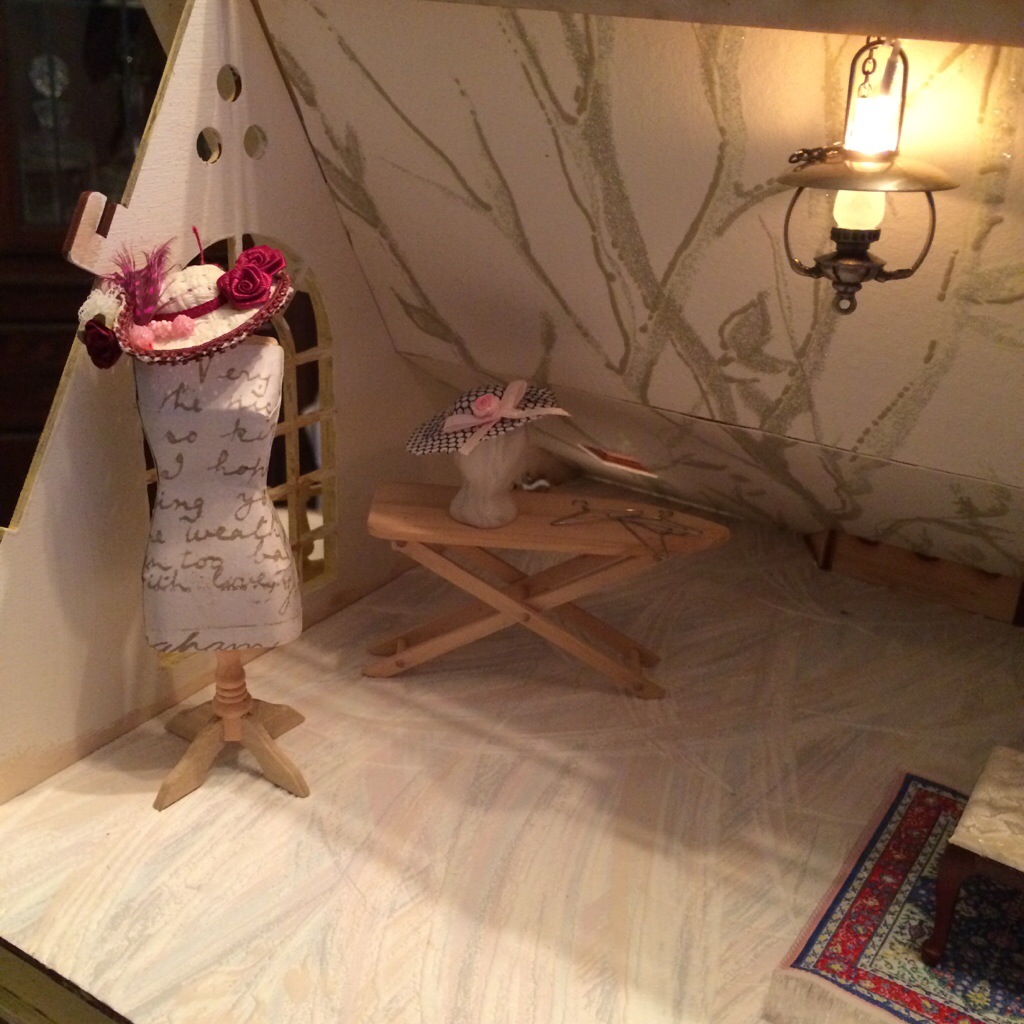
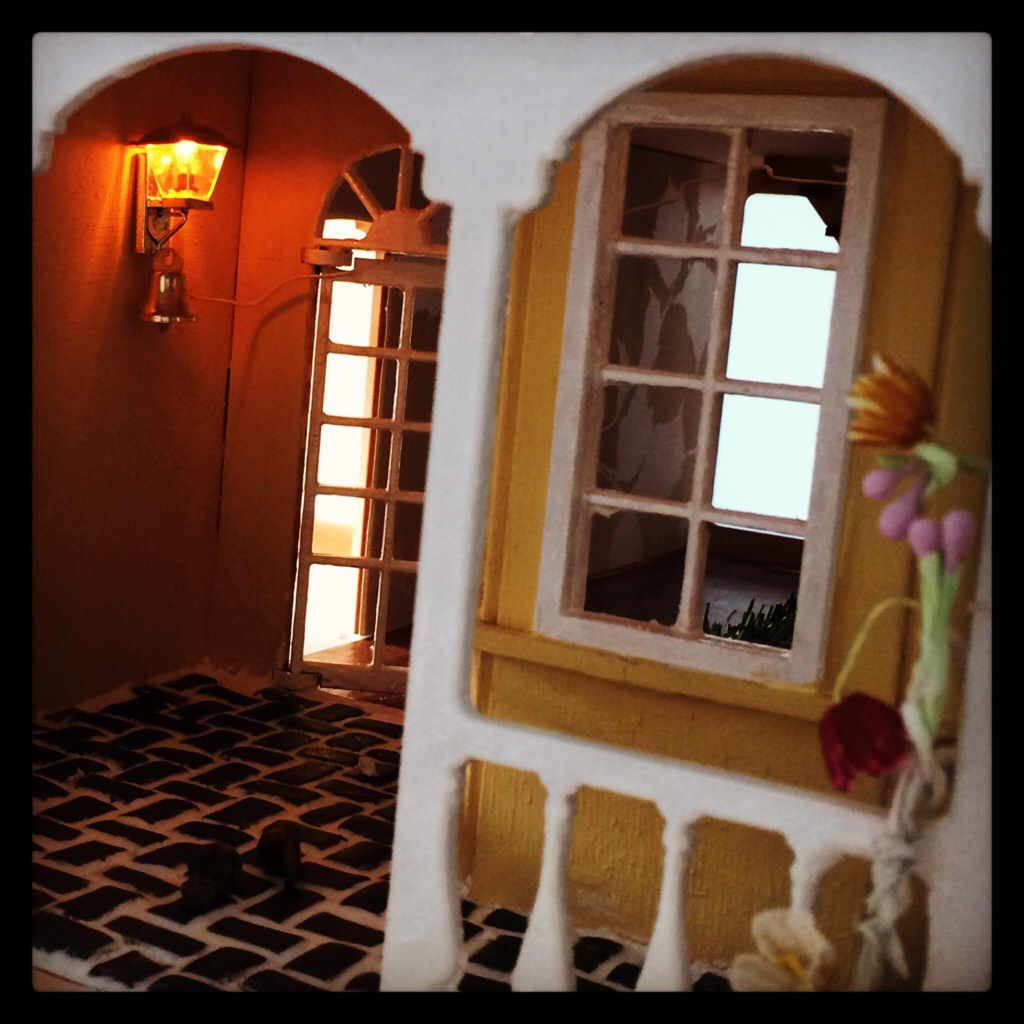
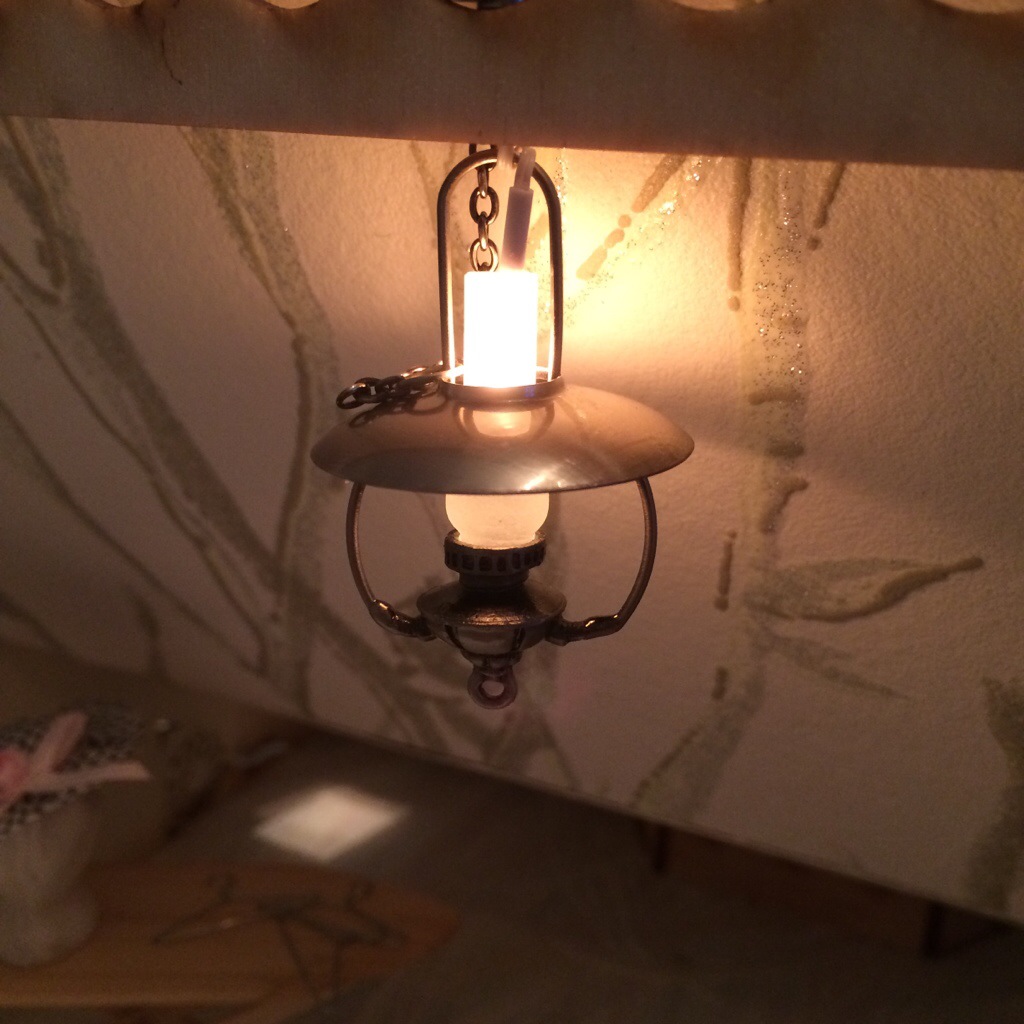
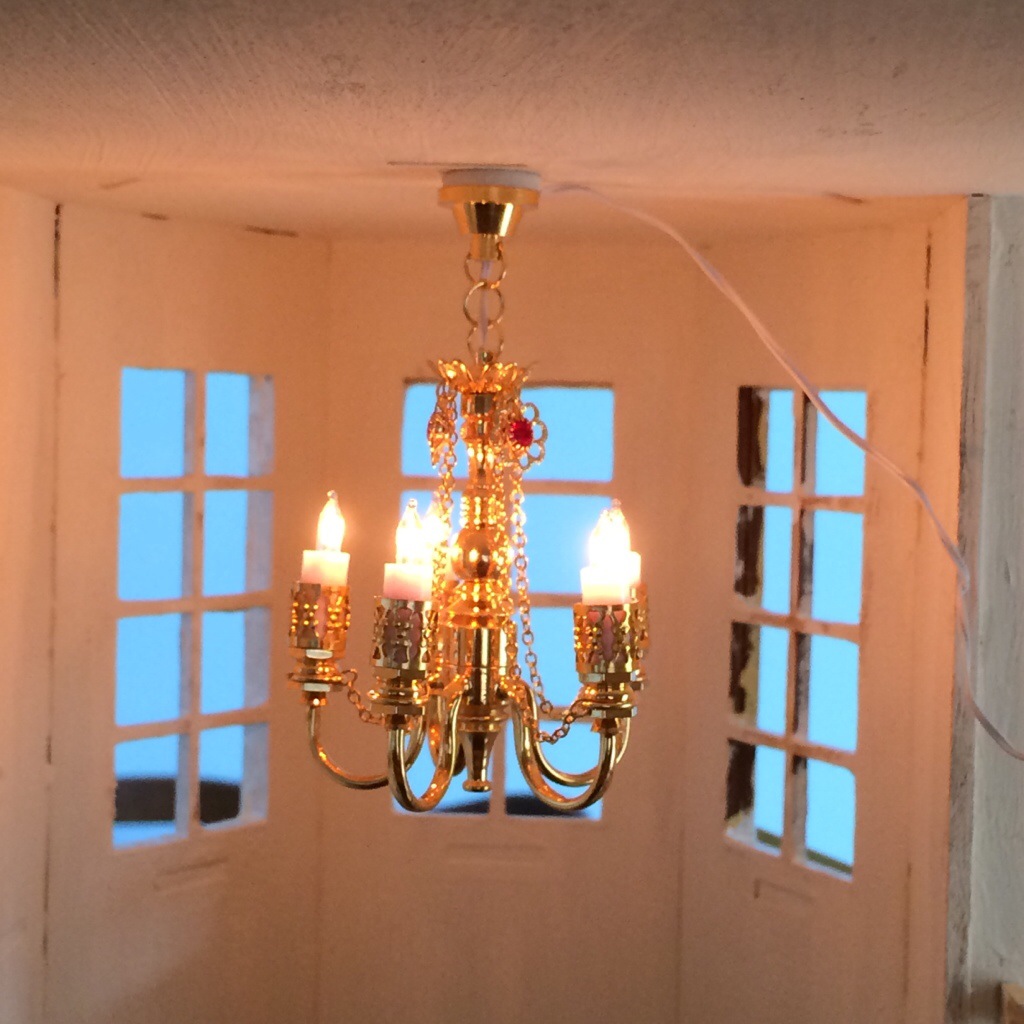
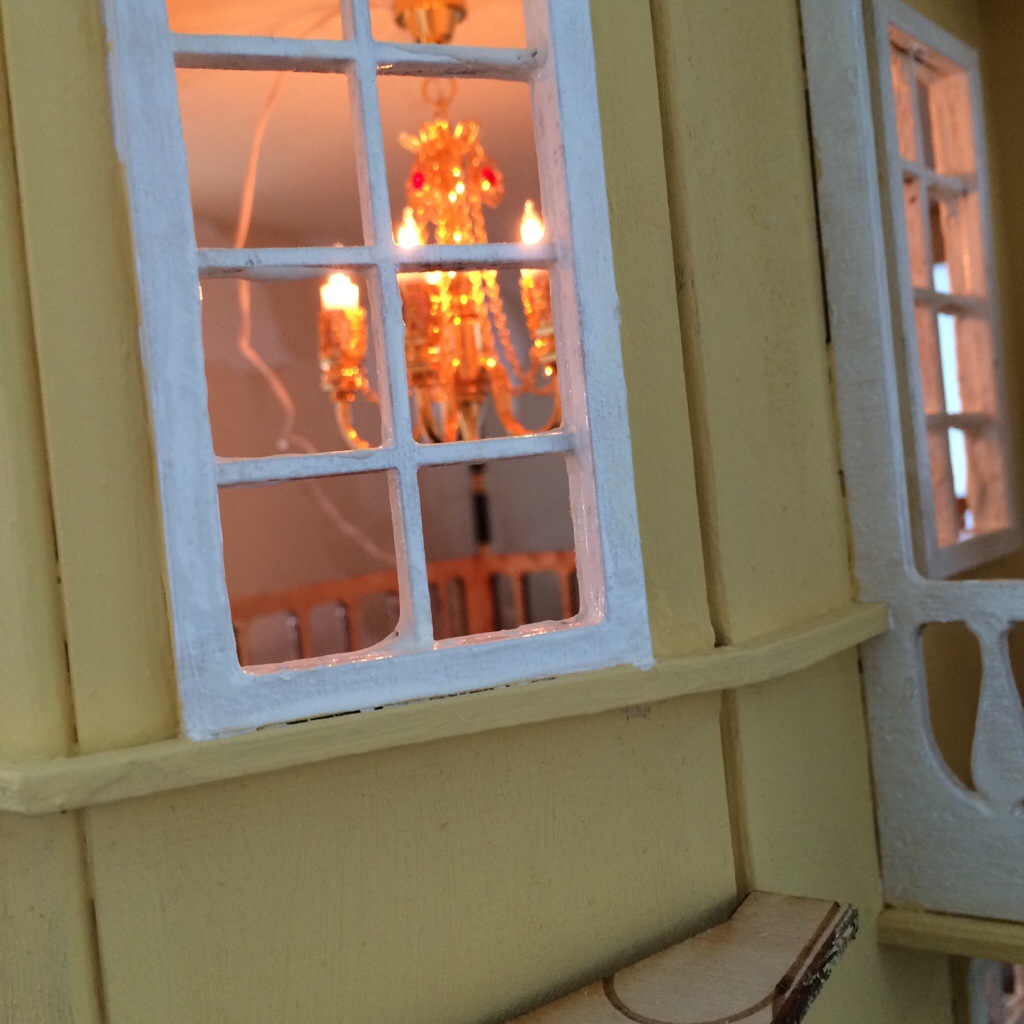
Also, for those of you who are beady eyed, you may have noticed I’ve got a new light in this room. Another dollhouse show bargain at £3!
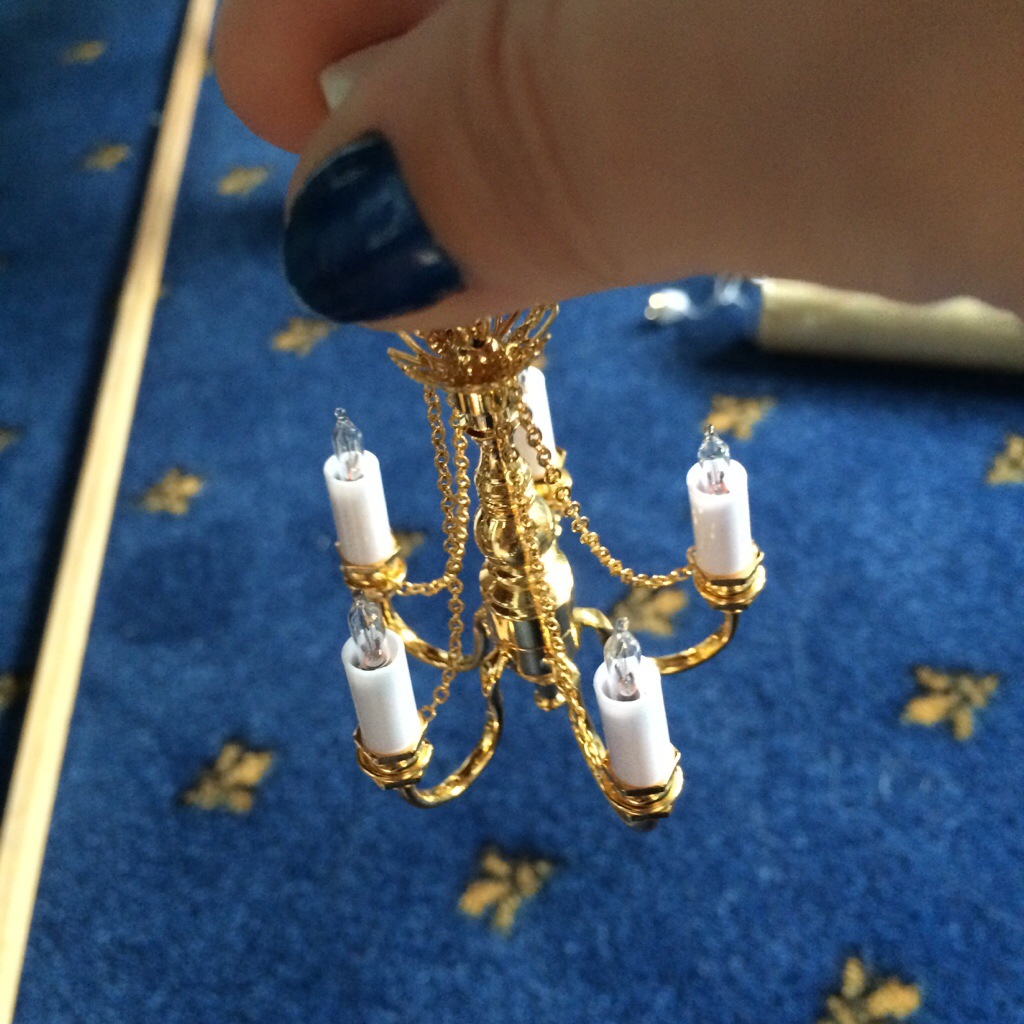
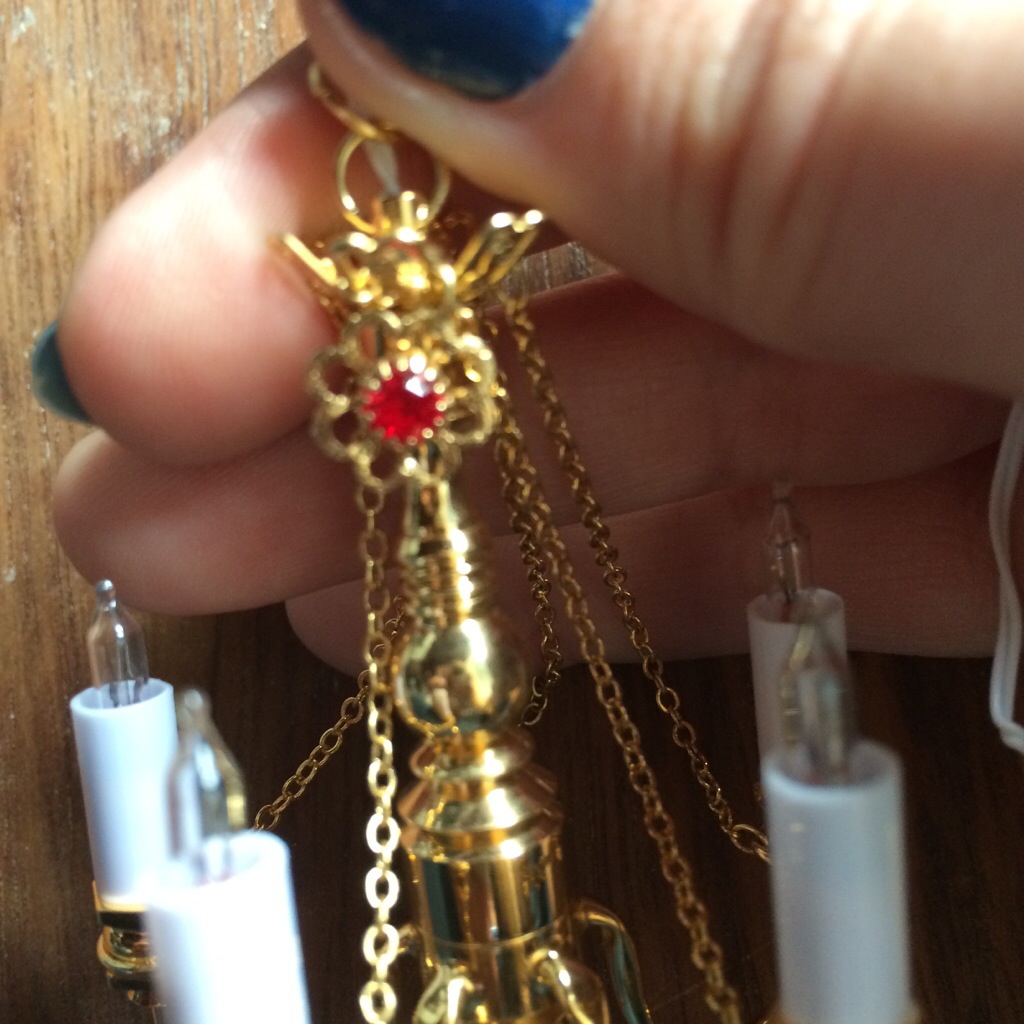
So yesterday at Miniatura the dollhouse show in Birmingham I finally took the plunge and purchased the chandelier for my ballroom.
I was so lucky and actually managed to get it for less than half price as it had been used as a show model. Not content with just accepting this cheapness I decided to invest in a few accessories to personalise it. (It would have been rude not to, right?)
>
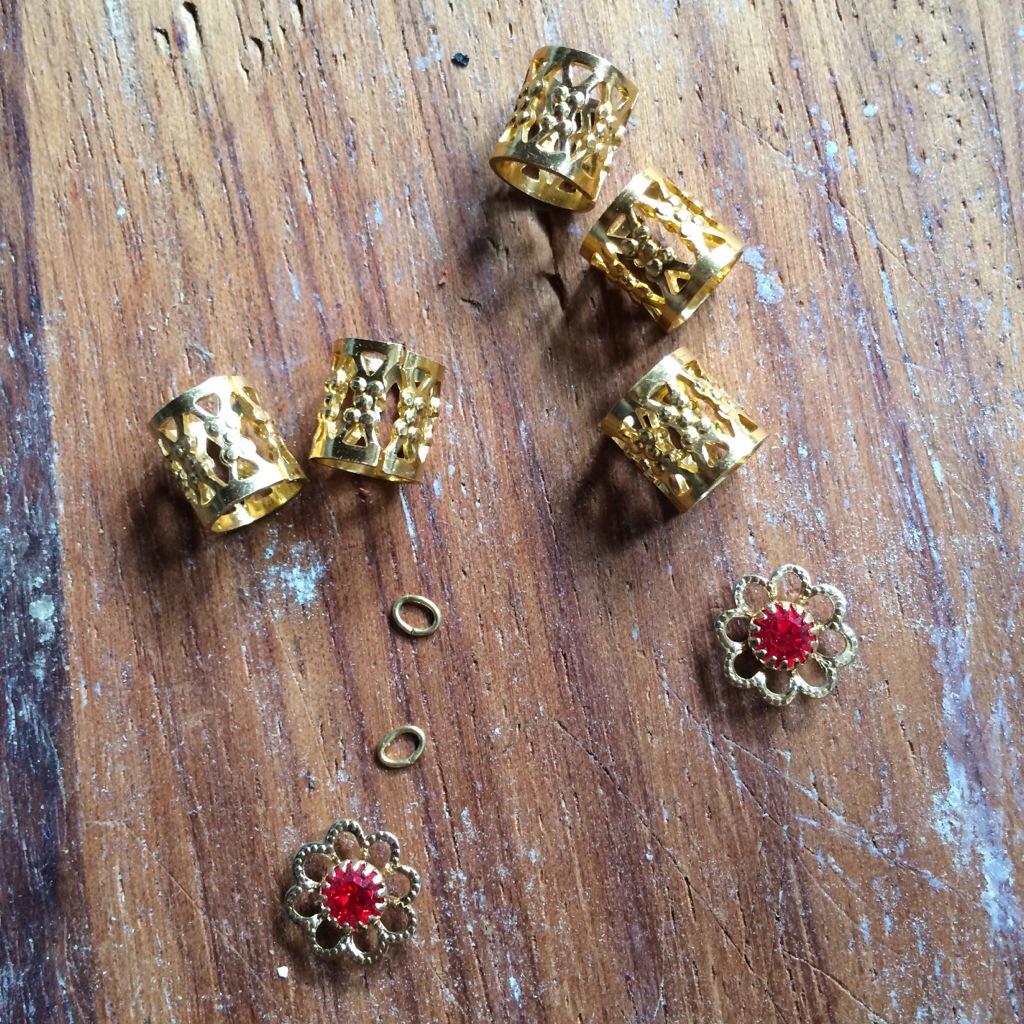
It was pretty convenient that I had the chandelier with me when I bought the accessories, it meant I could ‘try on’ the different pieces for size. Handy as my size estimation isn’t great.
The went for some ‘cuffs’ for each of the candle arms and some sparkles for the top. I’m pretty pleased with the results, simple but effective! And I managed the whole thing for just £10!
>
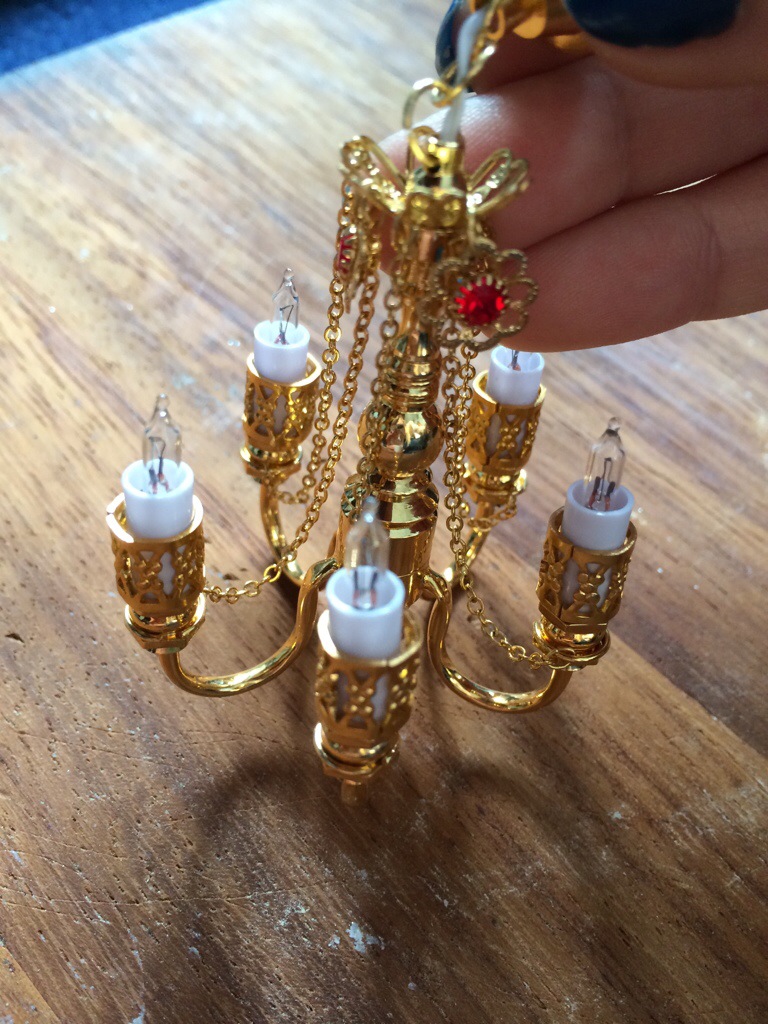
Ta-dah!
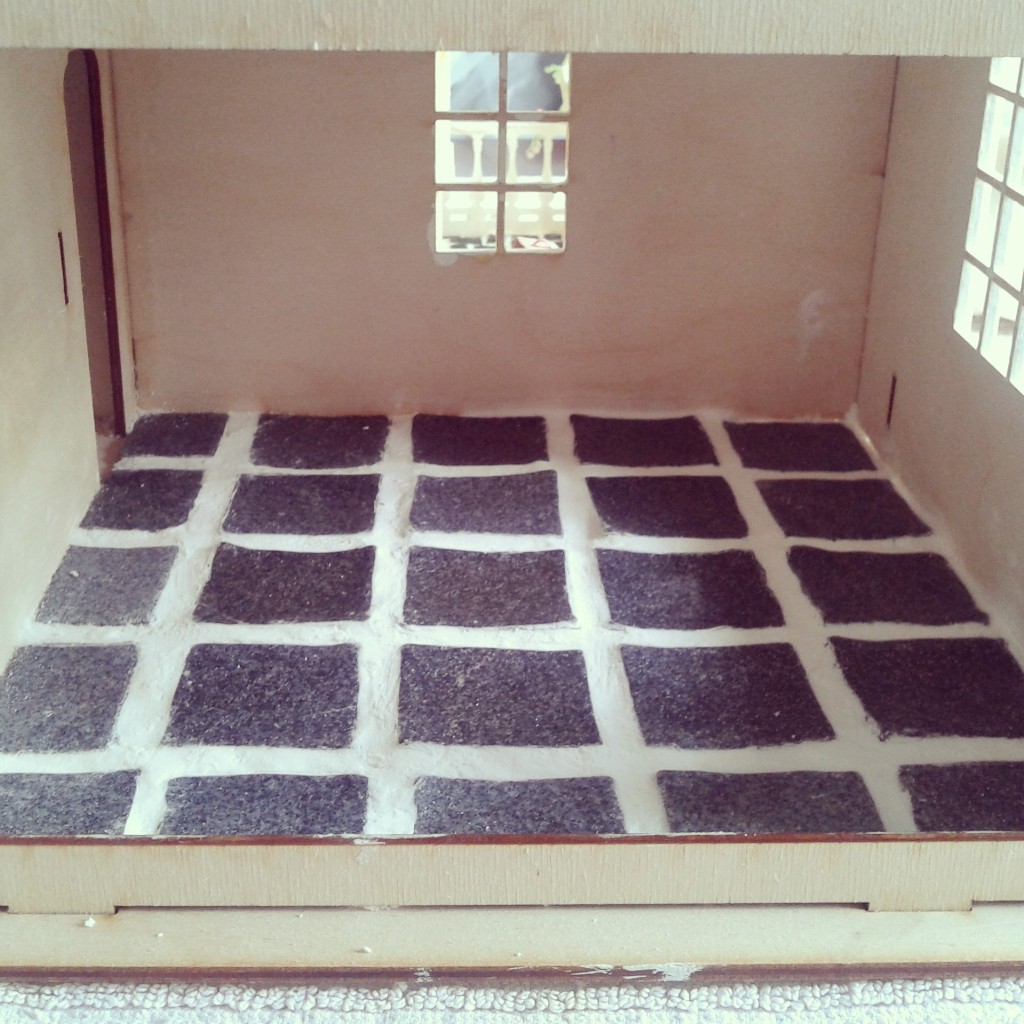
In hindsight I think the floor tiles are possibly too far apart, however I’d have needed to buy a second clay to create more tiles so I tried to stretch them. For only my second attempt however I am pleased with the result and, as the tiles and polyfilla were laid onto a sheet and not applied directly to the base, I can change them at a later date if I decide otherwise.
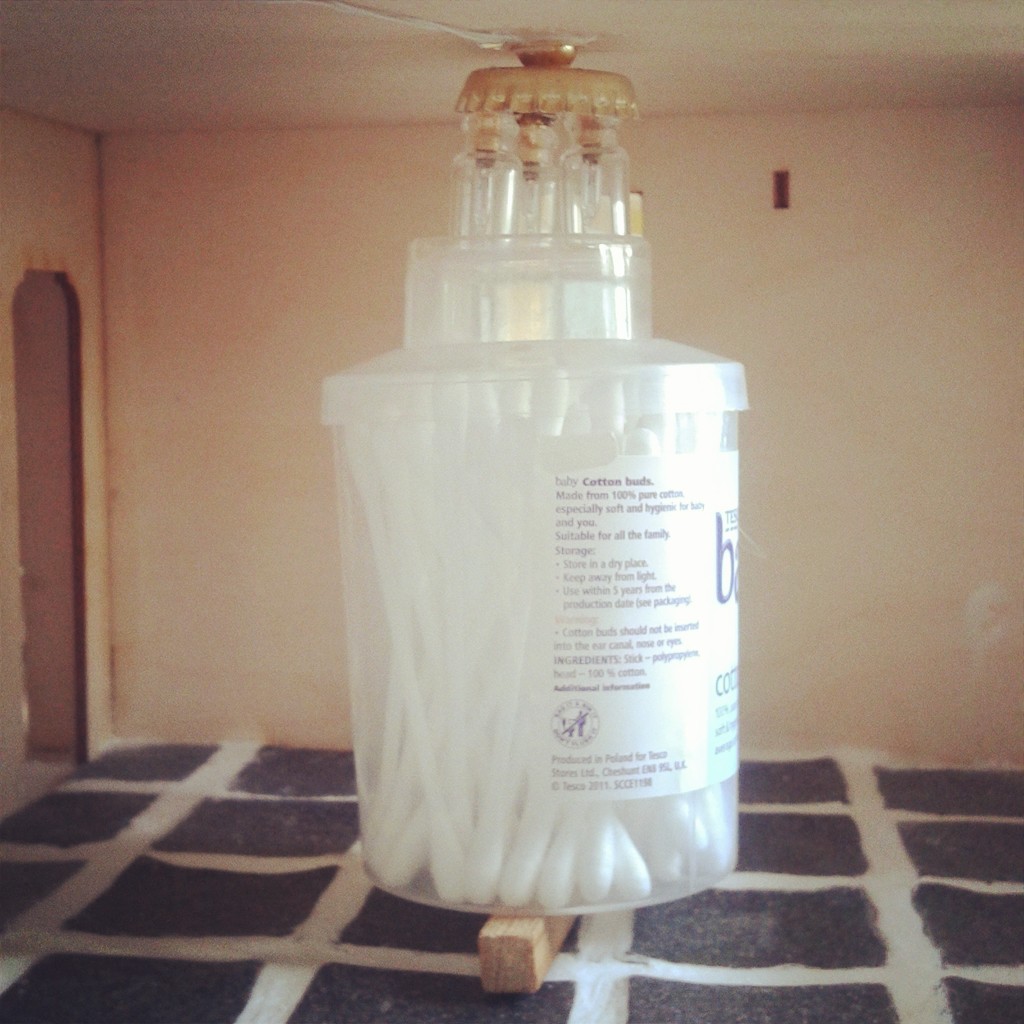
Now to add the jar ceiling light I made earlier! Waiting for glue to dry whilst holding the object is very tiring, so I decided to improvise…
One of the very last items I bought for my childhood dollhouse was a working fireplace but unfortunately it was never actually used. The wires for the light didn’t arrive with a plug on the end and at the age of 10 this was a complete no go… I was planning on figuring it out this time around, although 12 years later I was still as clueless with this sort of thing. Luckily, I stumbled upon this image whilst browsing through websites for outside lanterns! I wish information like this was sent with the items and not assumed as a given fact but oh well!

(Image from: http://www.dollshouseparade.net)
Sure enough it is literally a case of removing the pins, inserting the wire and replacing them. It finally works!

I have taken this success as a sign that I am now a fantastically talented electrician and therefore am intending to jump from this to converting an old broken chandelier into 3 jar lights which I have seen elsewhere and love. A big jump to say the least! *Fingers crossed*
I started by dismantling the original chandelier which consisted of 5 individual metal arms which all connected up at the base. I sacrificed the first arm in an attempt to work out how the new lights would need to be wired in order to work and not cause a fire! The second sadly broke when I tried to remove the outer metal casing. Thankfully the final 3 removals were a success! It would have been ideal to leave behind the wire casing on all 3 but this was not essential (I hope). I bet you can guess which one I did last anyway, practice does make perfect!

Next I needed to find some jars which I didnt mind sacrificing to make the casing around the the bulbs. I used 3 kitchen jars from my old dollhouse. As I have yet to install a kitchen in this house I figured it wouldn’t be too much of a problem…for now anyway!


Now comes the tricky bit!
It would have been easier to wire the 3 lights seperately with 3 seperate plugs, however given that my house has 10 rooms which will all (eventually) have lighting, this wouldn’t be practical. Therefore, I decided to connect them all together in a triangle formation with one wire connecting them to the ceiling. One wire would be required to connect together the wires leaving each blub and a seperate wire used to connect the base of each light together. Let the soldering commence!

Ta-dah! It works!

Now it was necessary to ensure that the two sets of wires never meet, the reason why keeping the original wire casing on would have been advantagous! I used a sealant glue to cover the wires leaving the bulbs, protecting them from the wire above.

Finally I glued the jars into place and waited for them to dry.


Now all that’s left to do is cover the wires and install the finished light!

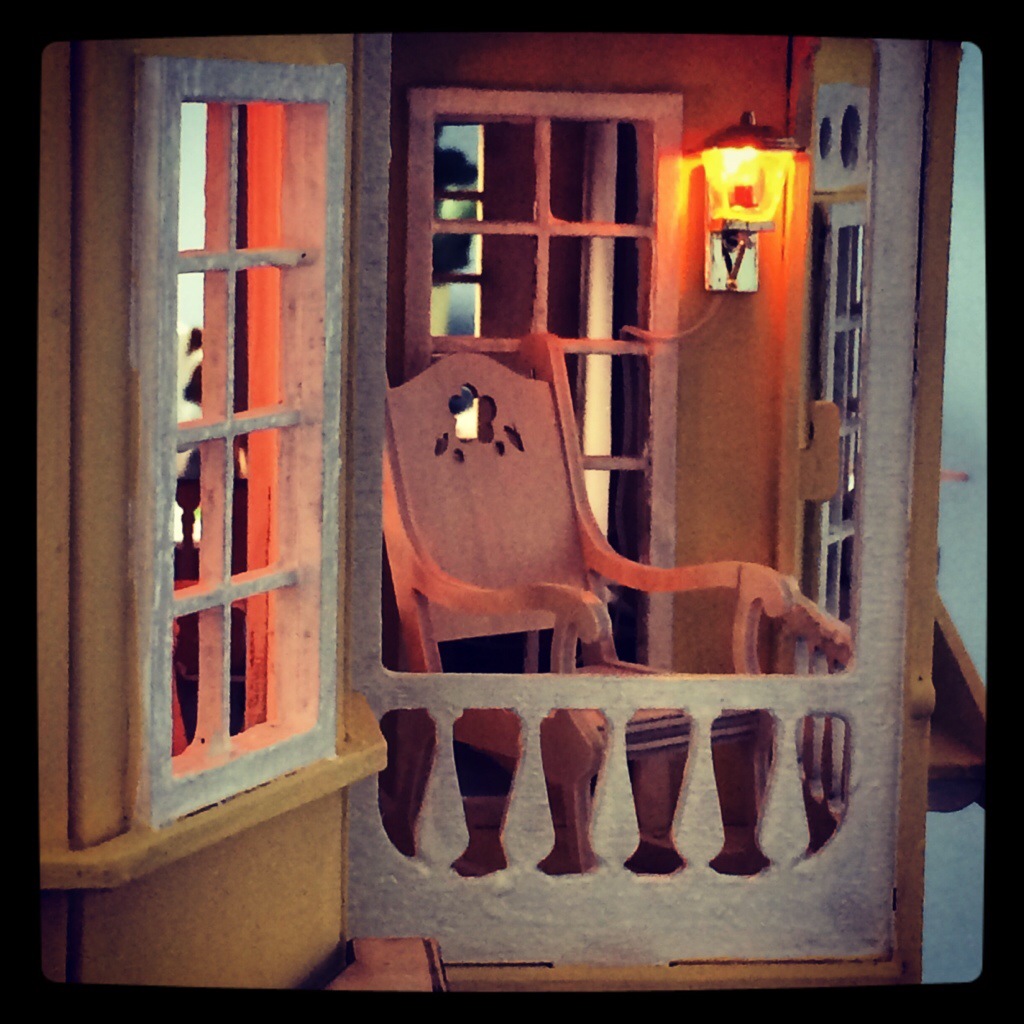
I used the free wallpaper samples again for this room on the flooring and one of the walls. I was slightly worried that the flower pattern for the wall would be too big as it was intended for an actual house however I carefully positioned it so the biggest flower would be cut out for the doorway and I think the result is very good. I pained the remaining walls a magnolia colour and installed a ceiling light left over from my previous dollhouse. The fireplace also contains a working red flickering light however is still to be installed. This room was smaller than the lounge in my previous house for a lot of the furniture, particularly the sofa, seem too big and so I will probably get a new one at some stage. Until then I decided to try some other options, such as a dressing room.

