Little house in the garden

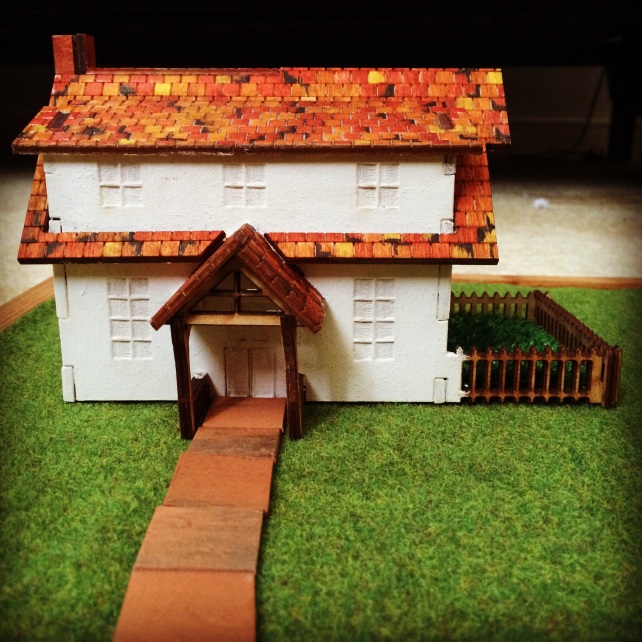
Some of you may remember that I was sent a miniature house with the missing roof for my main dollhouse.

20140504-161448.jpg

I decided to have a play with this mini project as I’ve reached a bit of a dead end for now with the main house.

I quite fancy the idea of setting it in a garden or field and making the location rather than just the house.

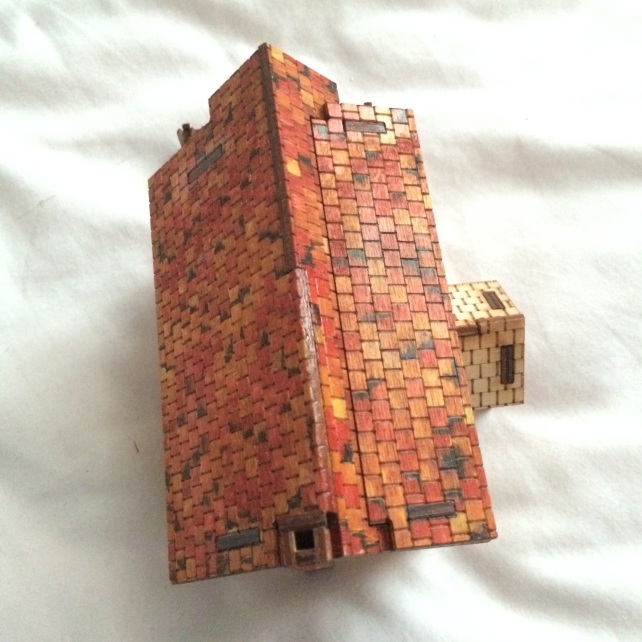
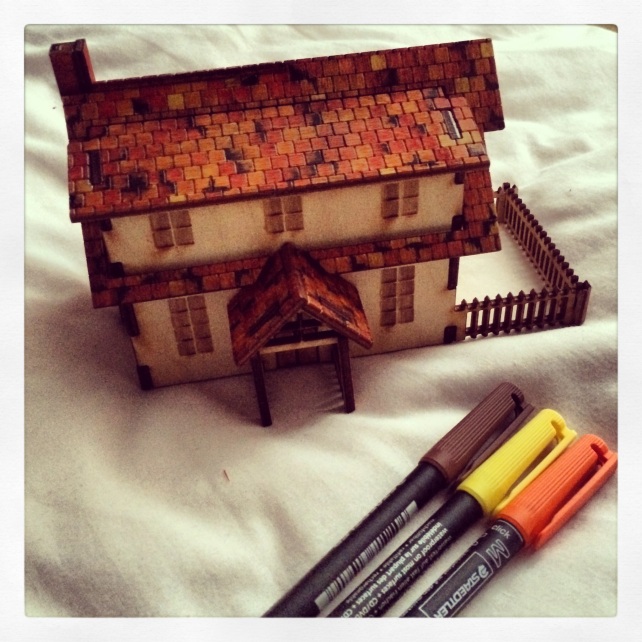
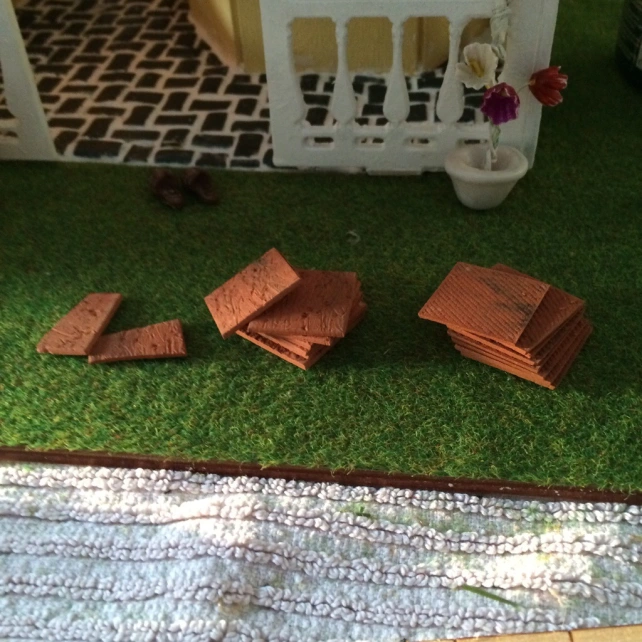
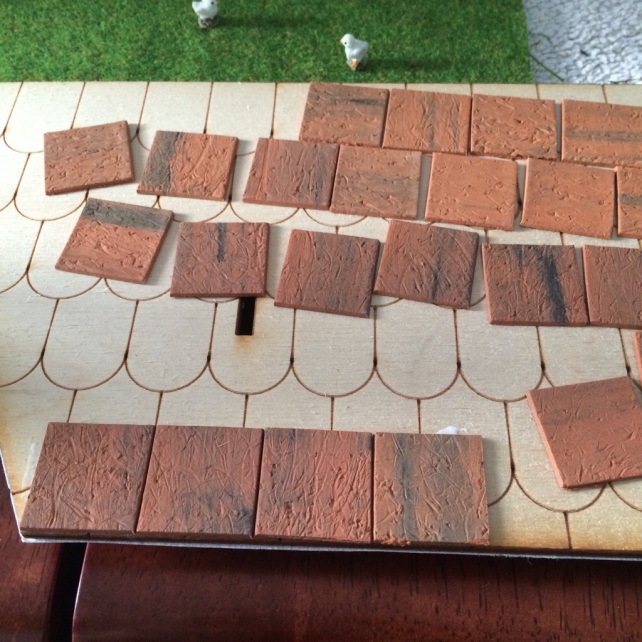
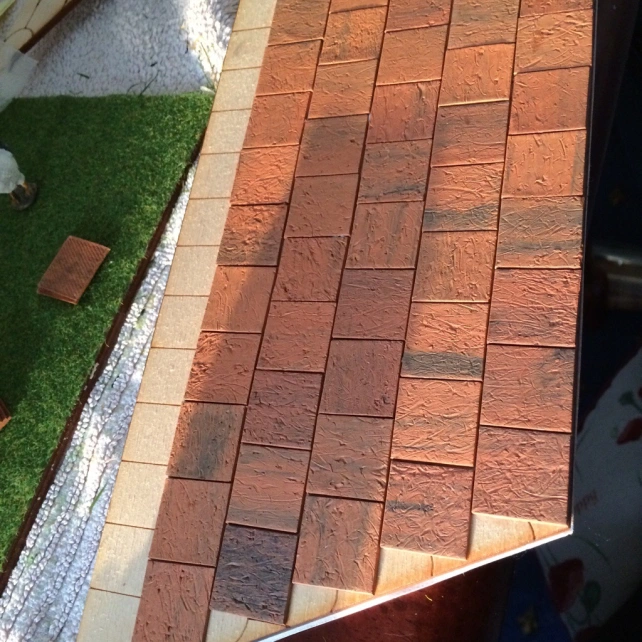
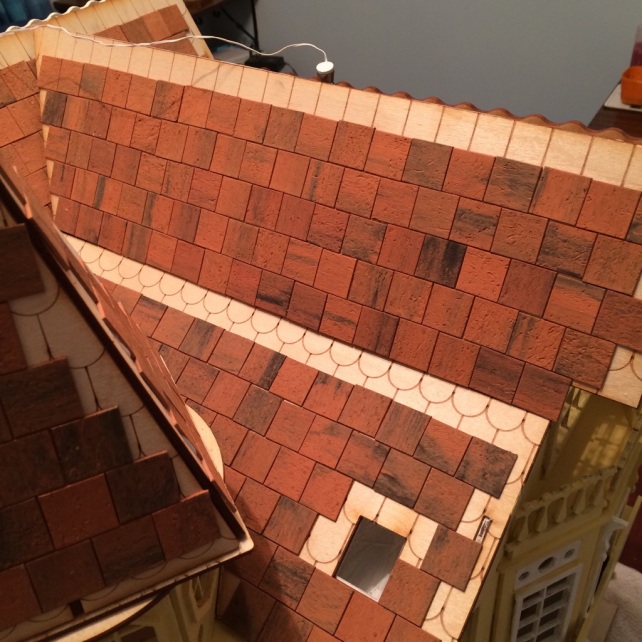
I also wanted to experiment using different materials to the usual paint and tiles. For the roof I used colour permanent marker pens to create a varied tile effect.

Although there are limitations with the blending and colours achievable by not using mediums like paint, I think the result was quite successful. Especially for a first experimentation!

20140504-161722.jpg

20140504-161741.jpg

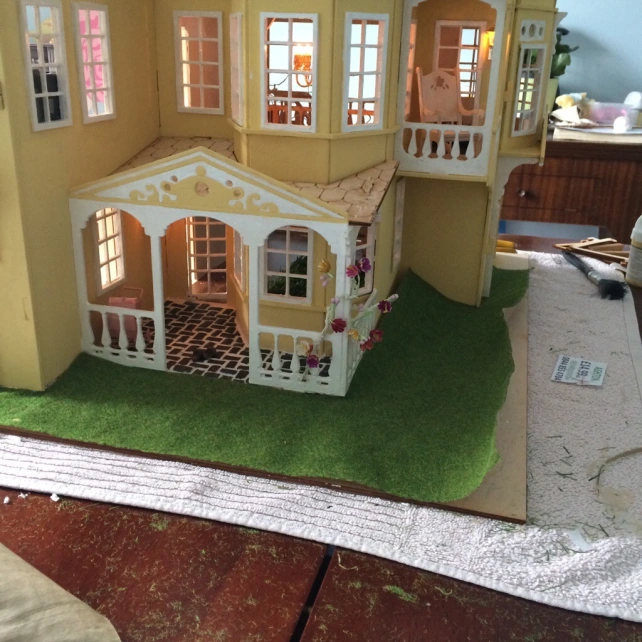
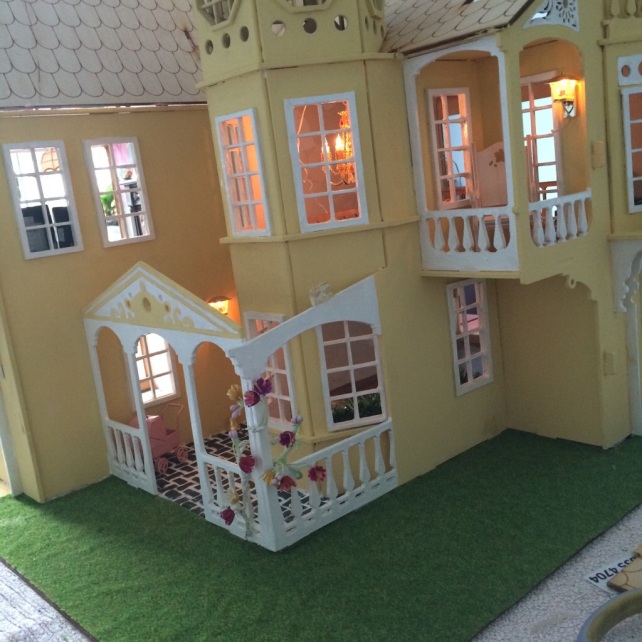
I then used a magnolia paint for the main walls. I’m not sure house these will be the finished result however. It all looks a bit pristine at the moment.

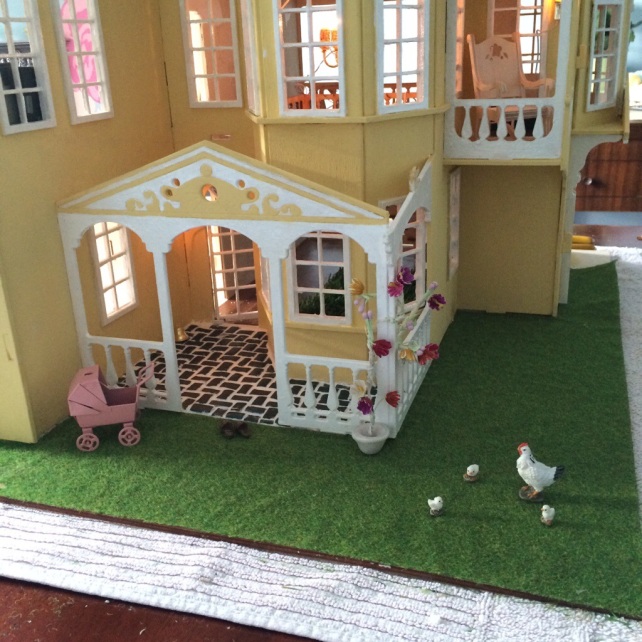
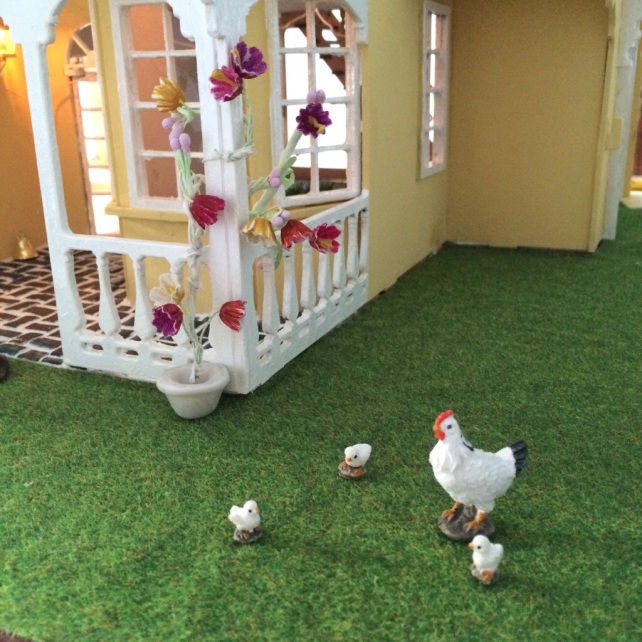
I used some AstroTurf free samples for the garden and the dollhouse grass I had left over from my main house for the surround.

20140504-162026.jpg

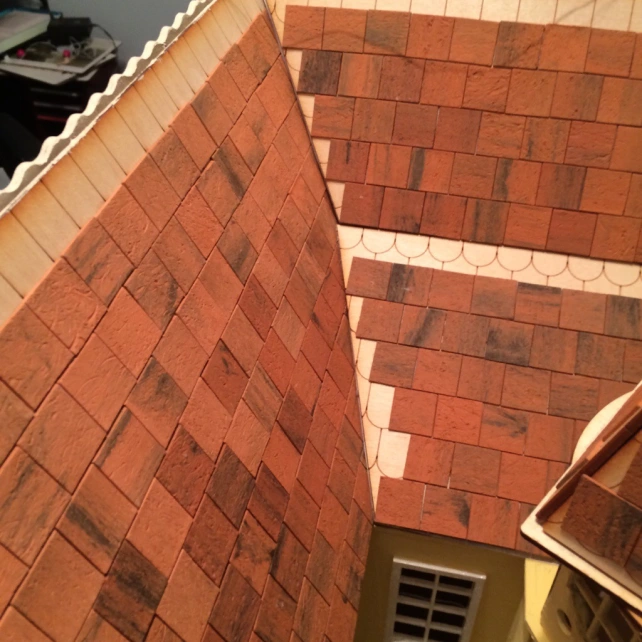
Tiles for the roof

I’ve pondered for months, literally, over what to do about tiling the roof. It looks so impressive but can be so expensive. And not to mention the decision of whether to use texture sheeting, tiles or stencils? And do you go for terracotta, maroon, light or dark grey? So many choices!

But another decision was made after seeing so many of these options first hand at the dollhouse show. I’m a little sad to say that price did end up playing a role in my decision making process, but it was always going to really, I have way too much roof to cover!

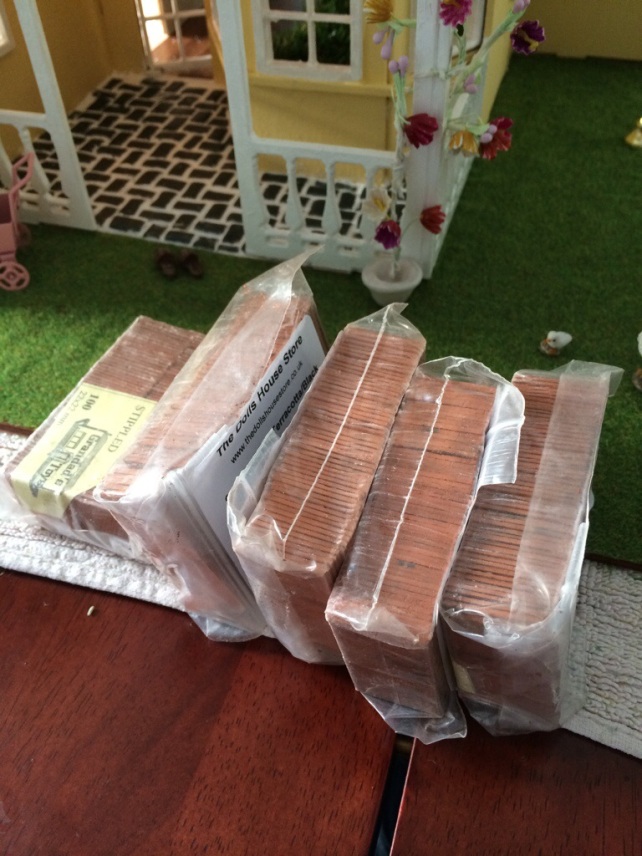
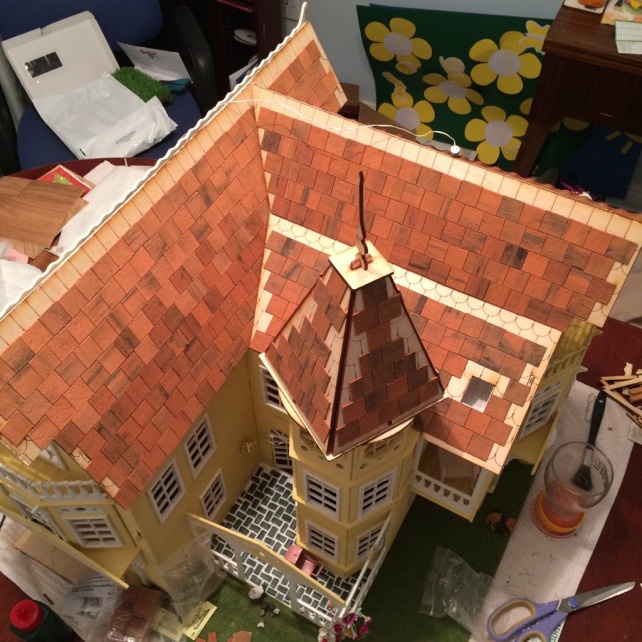
I chose a terracotta clay square tile, some of which are weathered in appearance to give an authentic feel.
I’m a little worried that I didn’t actually buy enough to cover the whole area though…


20140331-210612.jpg

20140331-210629.jpg

I painstakingly hand glued each tile individually. Placing each row in the gap of the previous.

20140331-210805.jpg

20140331-210851.jpg

I haven’t finished yet as I need to find a way to cut out all the tricky shaped pieces. But here is an idea of the finish so far, and the amount of time it took me!


20140331-211316.jpg

20140331-211401.jpg

20140331-211431.jpg

20140331-211444.jpg

Time for the garden

So as you’ll probably have guessed by now I love a bargain and better still a freebie!

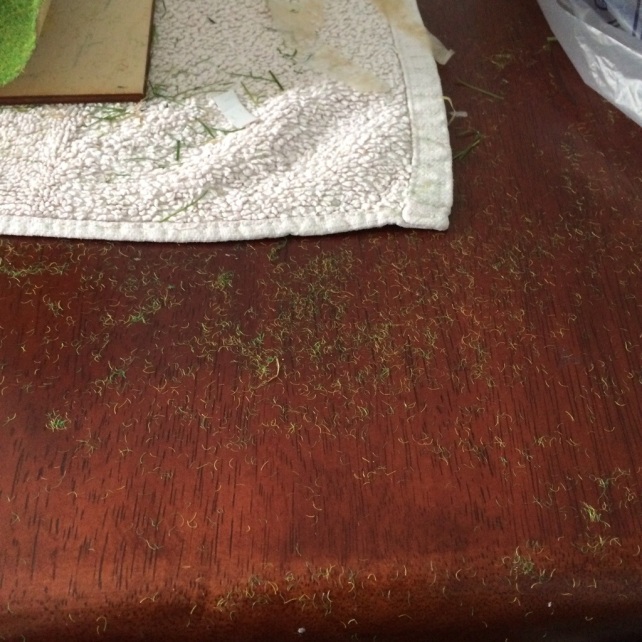
For the outside of my house (beyond the nicely tiled porch area) I have been hunting for, and not wanting to buy, some grass. I ordered some artificial grass free samples but alas they were too large (and not to mention incredibly messy once you started snipping away at them!)

Since I began with this project I have tried to avoid some of the crazy expenses which can often be associated with decoration such as wallpaper sheets, tiles and other cute but expensive items. And up til now, grass had been in this category too!

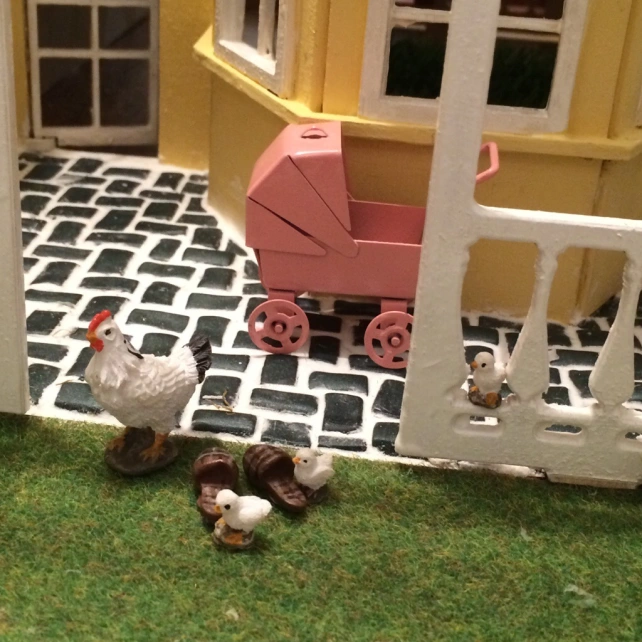
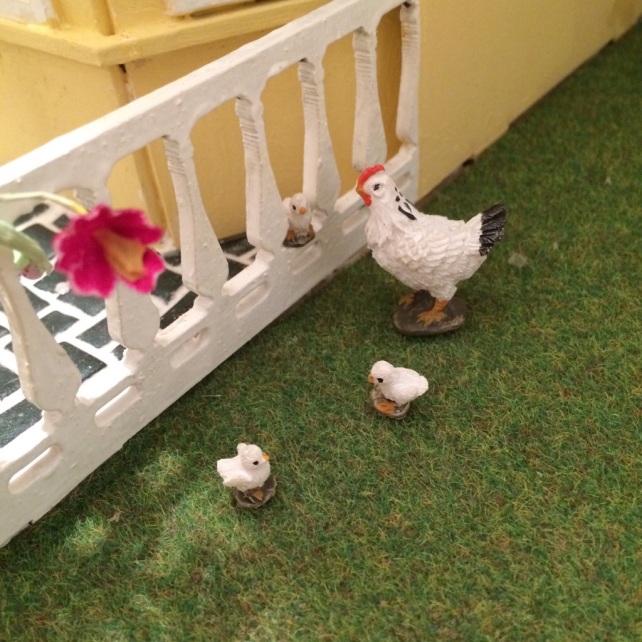
The sheet I bought was a green/yellow shade of grass, more realistic than others I had seen and only cost £3 for a sheet 19″ x 15″. I could be wrong, but I didn’t think that was too bad. I also treated myself to some chickens whilst I was there, just what every garden needs!

20140331-204131.jpg

20140331-204150.jpg

20140331-204210.jpg

20140331-204227.jpg

20140331-204248.jpg

20140331-204318.jpg


But just a heads up, it’s still a messy process…


20140331-204542.jpg

How to Create Floor Tiles

There are all sorts of methods for creating floor tiles/tile effect flooring in a dollhouse. From patterned paper to paint and stencils to moulds and miniature tiles. Each with their own level of difficulty, expense and realism.

I set myself the challenge this time around of using miniature tiles and grout for the flooring of the patio, large lounge/ballroom area and tiles for the roof (eventually). However after looking around various sites online at pre-made tiles or DIY moulds and casting powder I was a bit disappointed to find that pretty much every method I could find was out of my price range.

I then found an article online with a stone flooring made from kitchen counter samples. This got me thinking about possible methods for making my own tiles.

To avoid buying expensive moulds I knew that the material used to make the tiles would need to be fairly firm, such as a clay. I found a range of FIMO effect ovenbake clays which were available in a range of stone effects including Quartz, Marble and Granite. Even the non-stone range clays were very details in appearance and could have passed for tile/slab material.

For my first attempt I decided to create a crazy pavement style patio floor with small, and given my lack of mould potentially irregularly shaped tiles, in an opal green shade for the front of the house. The clay was initially quite tricky to knead however given a bit of persistence I managed to roll the clay into a shape a couple of milimetres thick. I would recommend using a rolling pin for this to ensure universal thickness however as I did not have one to hand some of my tiles are fractionally taller than others. Although I dont think you can tell! I then cut the clay into approximately 0.5cm strips and slided each tile about 1cm long. After cutting each tile and then shaped the edged slightly to tidy them up.
IMG_20140218_153554
As you can imagine this one by one process was quite time consuming!

IMG_20140218_153811

Time for the oven!

IMG_20140218_153354

I was terrified at this point that the tiles would curl or burn or something equally disasterous which would ruin all my hard work. 30 Minutes seems like an incredible long time for such tiny tiles to be in a hot oven, so in my paranoier I was checking them about every 5… nothing much changed!
Once removed the tiles looks pretty much the same as they had when they entered. A few had gains some faint black streaking however this added to the effect in my opinion and I’m not convinced you would be able to tell had you not just spent the last however many hours staring at the clay… Finally, I glazed the tiles with PVA to add a faint sheen.

____________________________

IMG_20140221_224614

Following this I cut out a template of the area to be tiled. This would then make the base which the individual tiles would be glued on to. This allowed me to ensure each piece was in the desired place and avoid the fiddly wall sections which would be in the way should I apply the tiles directly the base. I also needed to cut out individual pieces for the edges of the base which were oddly shaped or too small for the regular tiles I had created.

1619589_10152205459590033_1271783243_n

When all the tiles had been glued into place I fitted the template into the area and applied the Polyfilla between the cracks, wiping away and excess from the tops of the tiles. I also applied Polyfilla to the edge of the template cementing the tiles into place on the base.

1656397_10152205459135033_924401628_n

The finished result!
1970740_10152205459030033_1190877721_n

1966944_10152205461180033_774752259_n

1506398_10152205460965033_187568501_n

The Missing Roof and a Surprise

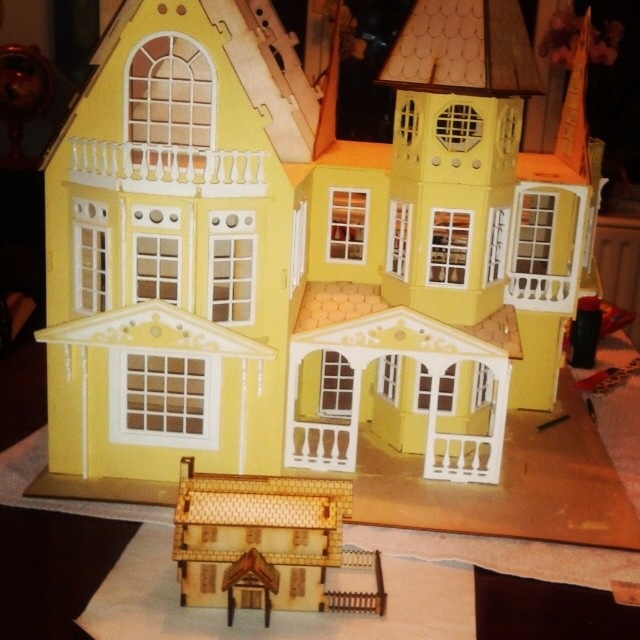
Some of you may have noticed that in the first photo, where I showed my newly assembled house, one of the large roof sections was missing. Unfortunately it had accidentally not been sent in the original package however I’m glad to say that it arrived safely today!

Even better than this, the seller sent me a miniature house by way of apology which I had great fun assembling this morning!

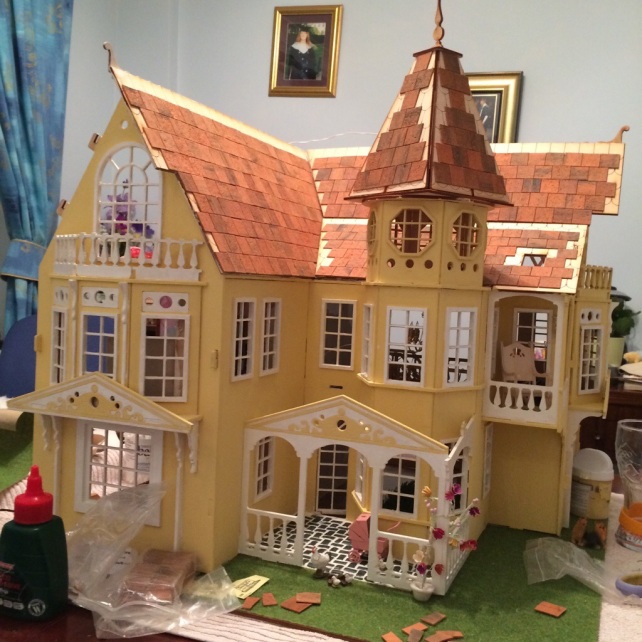
Two houses

Yellow and White

The first section has been completed…

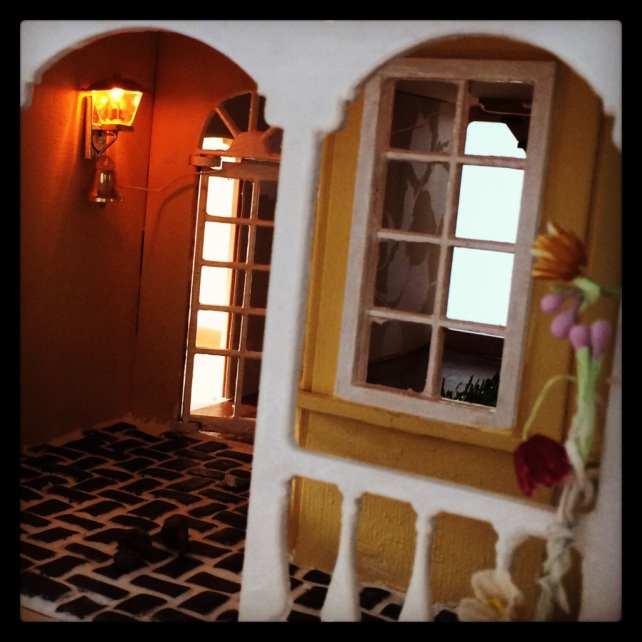
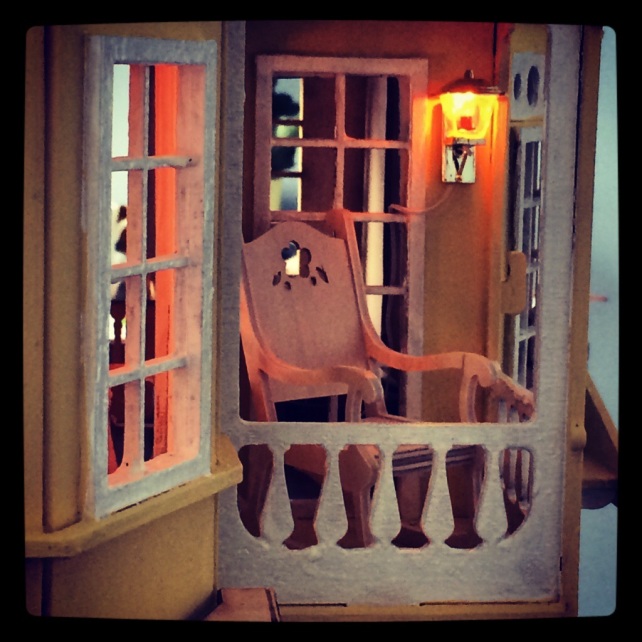
Painted Yellow

In hindsight it would have been sensible to paint each piece before assembling the house, although I was too excited to consider this when the house first arrived.

I am finding difficulties in reaching some of the less accessible areas; tight corners, window edges and sections which at first glance are obscured by their positioning such as the back of the balconies. It is also difficult to achieve a clean line between the window frames and the connecting wall.

That said, with the few pieces I have painted prior to inserting these obscuring pieces, such as the porch roof, I have found that the thickness of the added paint on the hinges was too great to slot the roof on afterwards. The excess paint needed to be filed off before the piece would fit. Given that filing is not an exact art, I found touch up was then needed once the piece was fitted and therefore the problems were presented as before.

Adding Colour

I have spent some time considering the colour options for painting the outside of the house. I am quite fond of the traditional Georgian rendered houses with the large painted white windows and this is something I would like to recreate with my house. Having searched around I have seen a few images with rendered dollhouses painted blue, green and yellow which I think contrast well with the crisp white window frames.

I have received a few comments about the style of the house seeming gothic and so am conscious to keep the colours quite light to prevent it from seeming too dark and imposing, particularly when internal decorations are added.

Therefore I have chosen a pastel yellow colour for the exterior of the house combined with white gloss window frames.

…here goes!

It Begins…

Yesterday my flatpack dollhouse arrived.

I had decided I wanted this project to be more ambitious than the last, choosing to order a flatpack model and assemble it myself. However I had not anticipated quite how many hundreds of tiny pieces there would be.

I have spent the last 24 hours trying to work out what each of the different shaped and sized pieces were designed for in this three dimensional jigsaw puzzle and assembling them accordingly. Only once or twice did I discover that I had glued pieces together in the wrong order and that consequently another piece could not be assembled. However, give or take a few pieces which I am still trying to find a use for, the  final pieces of roofing were eventually positioned and my new project had been born.

The Assembled House